I’m serious, this is the best lentil chili I’ve ever tasted and trust me, that means something because I’ve made a ton in my day. Both kids love it too, especially as leftover burgers! This would be great as a taco or burrito filling, nachos or anything with a Mexican flair! Plus it’s super easy to make and who doesn’t love that!

Best Lentil Chili Ever
The original recipe is from the cookbook “Fresh From The Vegan Slow-Cooker“. I’ve made a few things from this book and loved them all.
Best Lentil Chili Ever!
Ingredients:
* Water/broth for sautéing
* 1 medium yellow onion, chopped
* 4-6 cloves garlic, minced
* 1 or 2 jalapeños, seeded and minced (I omitted this for the kid’s sake)
* 1 bell pepper, seeded and chopped (any color – I usually use a fresh red one but I used a jarred roasted red pepper last time and it was GOOD!)
* 3 Tbsp chili powder (Yes, 3)
* 1 tsp dried oregano
* 1 tsp ground cumin
* 1 cup dried brown lentils, rinsed and picked over (I’ve been using the sprouted lentil/bean mix from Costco)
* 1 cup dried red lentils, rinsed and picked over
* 1 (29oz) can crushed or diced tomatoes
* 1 Tbsp coconut aminos (or tamari or shoyu)
* 1 tsp sugar (optional but gives it a different flavor)
* 1 tsp unsweetened cocoa powder
* Salt and fresh ground pepper
* 4 cups water
Directions:
1. Water sauté onions in a skillet over high heat. Add onions, garlic, chilies and bell pepper and sauté for about 4 minutes or until soft. Add the chili powder, oregano and cumin and saute for 30 seconds longer.
2. Transfer the onion mixture to the slow cooker/crockpot. Add both lentils, tomatoes, soy sauce, sugar and cocoa. Stir in the water, cover and cook on LOW until the lentils and veggies are tender, about 6 to 8 hours. (Mine took closer to 6 since I used the sprouted and red lentils) DO NOT ADD SALT YET! Salt tends to toughen/harden the lentils.
3. Once it’s done, add salt and pepper. Taste and adjust seasoning, if needed. Serve hot with your favorite chili toppings!
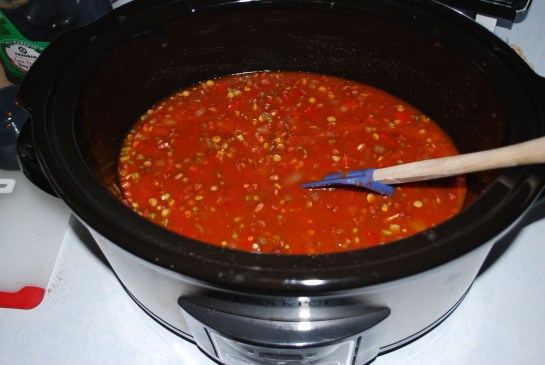
Saute onion, garlic and peppers. Add in spices and saute a minute more then throw that and the rest of the ingredients into the crockpot.

5-6 hours later… Done!
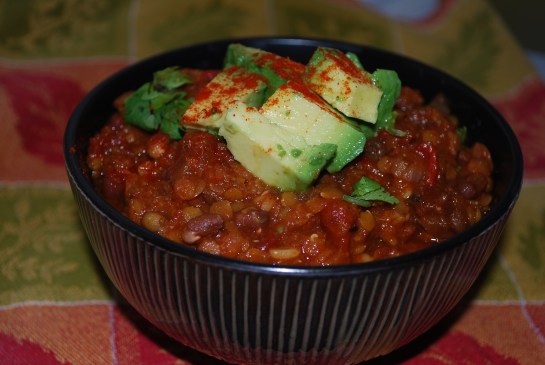
It’s so easy and SO GOOD!

Cash likes it!

Ava likes it too! SOLD!!