New Look Coming Soon!

staytunedKid Tested Firefighter Approved is undergoing a little makeover! Stay tuned while we put the finishing touches on our new site! For all you faithful subscribers, we expect your subscription to transfer over without any further action required but I will reach out to you once the change is official to make sure you’re still with us. Check our Facebook or Twitter pages too, we are always available there! Our address won’t change but we may be temporarily unavailable for a short while so don’t go anywhere! Great things up ahead! Thanks again for your loyal and continued support, we appreciate each and every one of you!

Best to you and your family!

– April ❤


Cheezy Rice/Quinoa & Lentil Bake

I’ve made this a few times and the kids always love it. There are so many different variations of this dish so get creative! You can make this with or without the spinach and tomato addition. A few people said they used the leftovers as dip! I used it (in my next post) for Leftovers Lasagna! Enjoy!

Cheezy Rice & Lentil Bake

Cheezy Rice & Lentil Bake

Cheezy Rice & Lentil Bake (with Spinach/Tomato/Quinoa option!)

INGREDIENTS

3 cups low sodium veggie broth or water
3/4 cup uncooked lentils – I used green lentils
1/2 cup uncooked brown rice or quinoa
3/4 cup chopped onion
1 Tbsp italian seasoning
1 tsp garlic powder
* 10oz package frozen spinach (optional)
* 1-15oz can diced tomatoes, drained OR 1 box Pomi chopped tomatoes, drained (optional – you could use 1 cup chopped sun dried tomatoes here too!)
** Cheeze recipe below

Possible additions – artichoke hearts (add to the spinach version!), 1 cup chopped sun dried tomatoes, soaked for 30 minutes (instead of Pomi or canned), green chiles, red pepper flakes, use leftovers from Spinach Artichoke Dip instead of the LowFat Nacho Cheese…

INSTRUCTIONS

1. Preheat the oven to 350 degrees.
2. Mix all ingredients except the cheese in a baking dish (I use an 11 x 7 for the original recipe – used a 9 x 13 with the spinach and tomato addition).
3. Cover with foil and bake for 1 hour 10 minutes – (the quinoa/lentil/spinach took about an hour)
4. Make the cheese sauce before the time is up – takes about 5 minutes.
5. Remove the foil, add the cheese (recipe below), stir well and bake for an additional 15 minutes or until golden brown and bubbly.

** If using tomatoes, add them in and stir 5 minutes before it’s done.

Low Fat Vegan Nacho Cheese

Ingredients
¼ cup raw cashews – I soaked mine for a few hours first
⅔ cup non-dairy milk – I used unsweetened almond milk
2 tsp yellow miso paste
½ tsp lemon juice
2 tbsp nutritional yeast
½ tsp onion powder
½ tsp salt
2 tsp arrowroot or cornstarch
¼ cup roasted red bell peppers – I use a whole one from the jar
½ tsp cumin
¼ tsp black pepper
a dash of cayenne pepper

Cheese Instructions

Combine all ingredients in a food processor or Vitamix type blender and process until smooth and creamy.

Cheezy Quinoa & Lentil Bake made with spinach and tomatoes - stir all ingredients in one pan before baking!

Cheezy Quinoa & Lentil Bake made with spinach and tomatoes – stir all ingredients in one pan before baking!

Make your cheeze sauce!

Make your cheeze sauce!

Quinoa & Lentil Bake - ready for cheeze and tomatoes!

Quinoa & Lentil Bake – ready for cheeze and tomatoes!

Add in cheeze sauce and stir

Add in cheeze sauce and stir

Put back in oven, uncovered

Put back in oven, uncovered

Add in tomatoes 5 minutes before cook time is done

Add in tomatoes 5 minutes before cook time is done

Yummy!

Yummy!

Quinoa & Lentil Bake with Spinach & Tomatoes

Quinoa & Lentil Bake with Spinach & Tomatoes

Top 25 Foodie Moms Contest!

I just found out that my blog was nominated for the Top 25 Foodie Moms of 2012 Contest!! If you have a second and want to vote for me, I’d greatly appreciate it!

Click on the link below. You can vote once every 24 hours PER DEVICE! Some devices will let you vote more than once! 😉 You don’t need to sign up for anything, just click on the vote button and that’s it!

Voting ends May 29th.

Thank you for all your support, it means a lot to me!

– April 🙂

http://www.circleofmoms.com/top25/Top-25-Foodie-Moms-2012

Please vote for our Mom!

Sprouting Made Easy

Let me start by saying I SERIOUSLY lack in the green thumb department… I can kill a cactus. I taught myself how to sprout and I have a new sense of confidence when it comes to growing something, that makes me so happy! I’m not ready to start my own kale garden yet but in the meantime I’m having a blast sprouting in my pantry.

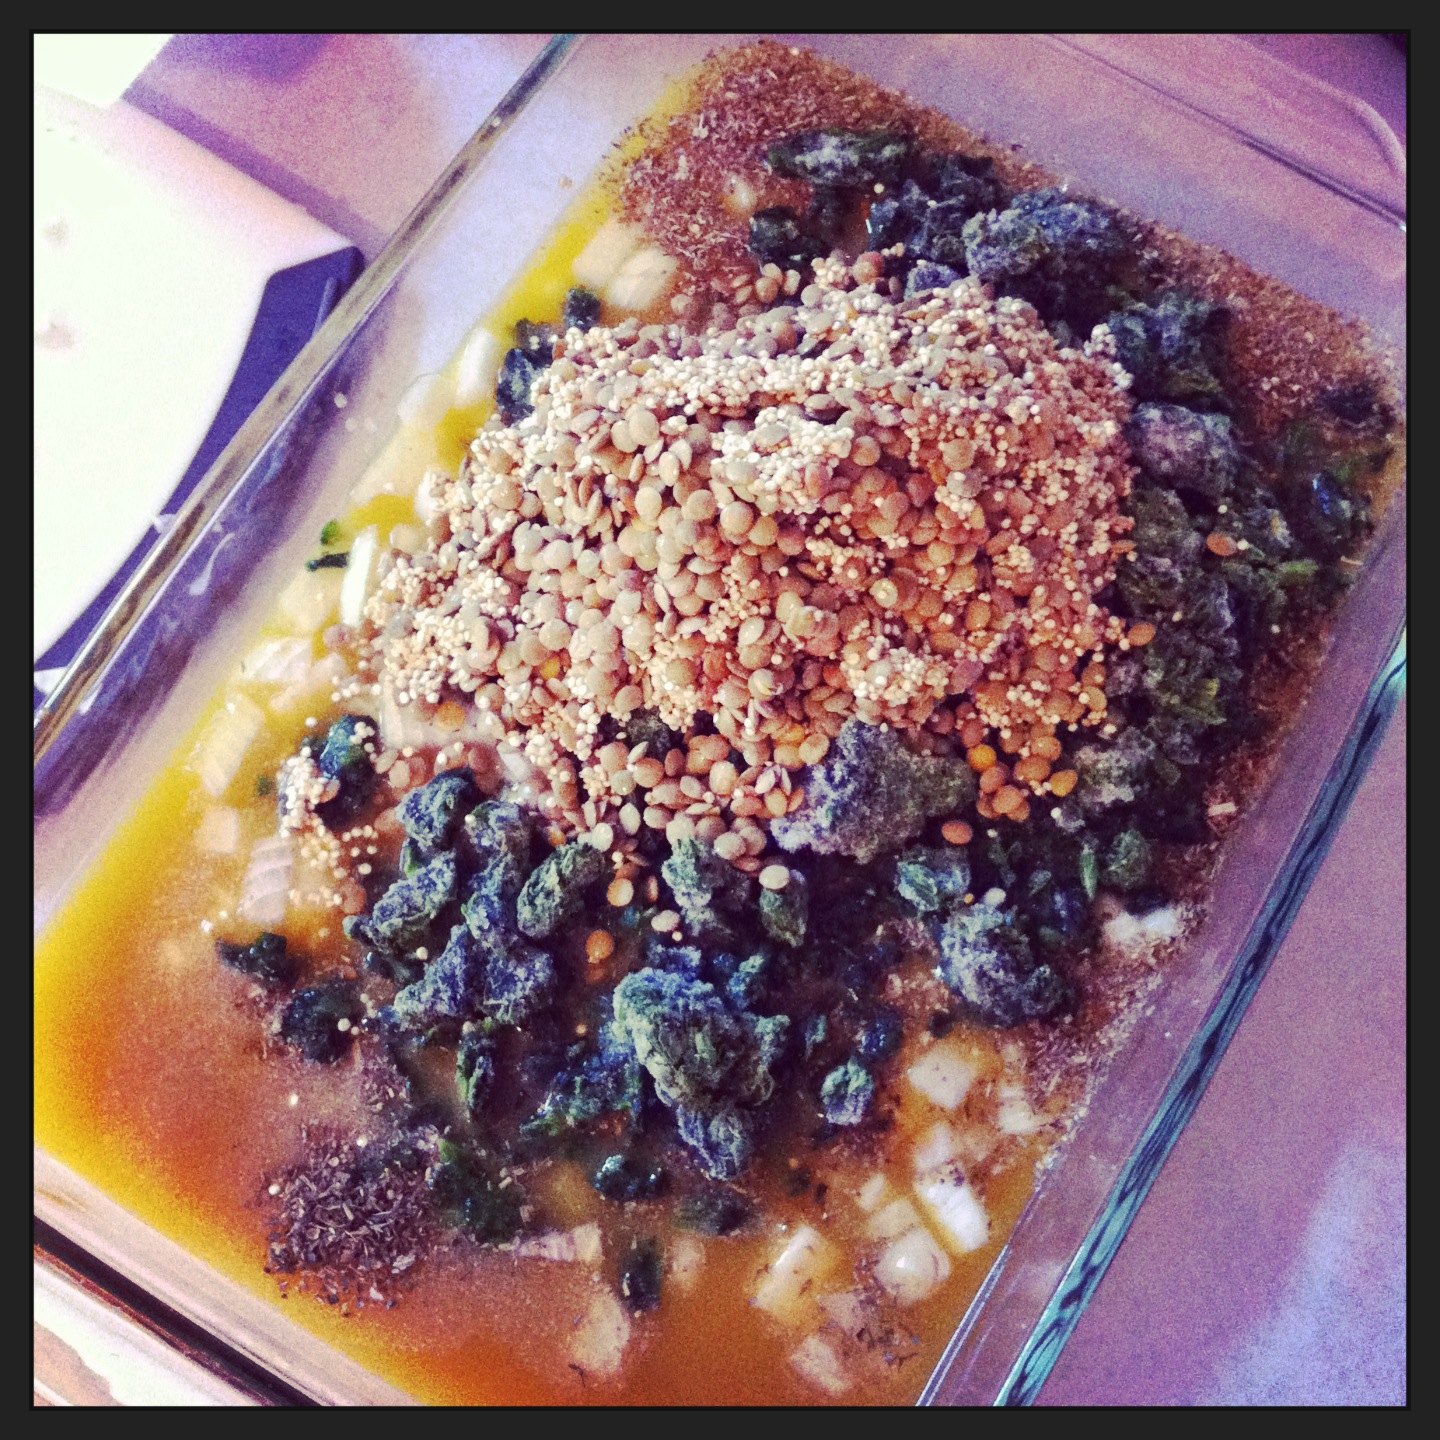
Once you get the hang of it, it’s super easy and fun! I always keep a jar or two in my fridge, I love to add sprouts to my daily salads! I added sprouts to my recent copycat Whole Foods-like Oil-Free Lentil Salad, that was delicious! The past few weeks I’ve been sprouting spelt, wheat berries and buckwheat groats together to make a delicious live-food breakfast! I add a little walnuts or raw pumpkin seeds, some fruit and a little almond milk, it’s really delicious.

** Tools you will need to do this:

1. Grains, seeds, beans, lentils or whatever else you want to sprout! I like green lentils, mung beans, spelt, wheat berries, buckwheat and variety packs the best. I’m still experimenting with other ones, there are so many! You can sprout quinoa, chia seeds, pumpkin seeds (I tried this and didn’t really get any growth… still mastering this one!)… so many options! I’ve sprouted garbanzo beans before and made hummus out of them… tasted kinda funky, I have to admit but I’m willing to try it again. 

2. 1/2 Gallon Mason Jars – They work the best and allow the most sprout production due to their larger size. I like the wide-mouth ones the best! You can also use them to store your dry beans and grains, I do!

3. Sprouting Lids or Cheesecloth and a rubber band – I like the lids the best

4. Dark pantry or cupboard – time to clear out a space for your new sprouting habit! Now, some sprouts (from what I’ve read) need sunlight but I haven’t gotten to that level yet. I tried leaving my lentil sprouts out on the counter for sunlight and they ended up brown and odd tasting. For now, I’m sticking to the cupboard/pantry method!

5. Bowl – large enough to hold a mason jar upside down to catch excess water

** Instructions:

1. I add about 1/2 – 1 cup of whatever I want to sprout to my 1/2 gallon mason jar (some more, some less depending on the size of the seed/grain you’re growing)… fill the jar with water, attach my sprouting lid (or cheesecloth if you don’t want to use a fancy lid) and drain the water out. I then fill the jar up again and let it sit in my cupboard with the LID ON (metal one that comes with the jar or a plastic one you can order separately) overnight – about 12 hours.

2. The next morning – attaching the sprouting lid or cheesecloth, drain the jar into the sink and place it upside down on a towel to get most of the excess water out. Then place the jar upside down in a bowl, lined with a paper towel. Place this getup in a dark cupboard or pantry.

3. WRITE YOURSELF A NOTE SAYING “SPROUTS”… that’s what I do. It’s taped to the outside of my cupboard to remind me to rinse my sprouts a few times a day. Out of sight out of mind, they’re easy to forget about.

4. Continue to fill the jar up with water and drain 2-3 time a day, placing the jar back into the bowl in your cupboard or pantry each time. Make sure you get most of the water out or your sprouts will MOLD! If you forget about them and leave them in there without rinsing them for 24 hours they will most likely mold… just happened to me today! AGH!!! I hate wasting two whole jars of sprouts!!!

5. When you’ve achieved your desired growth on your sprouts rinse them one last time and place a metal or plastic lid on the jar and place in the fridge for up to a week.

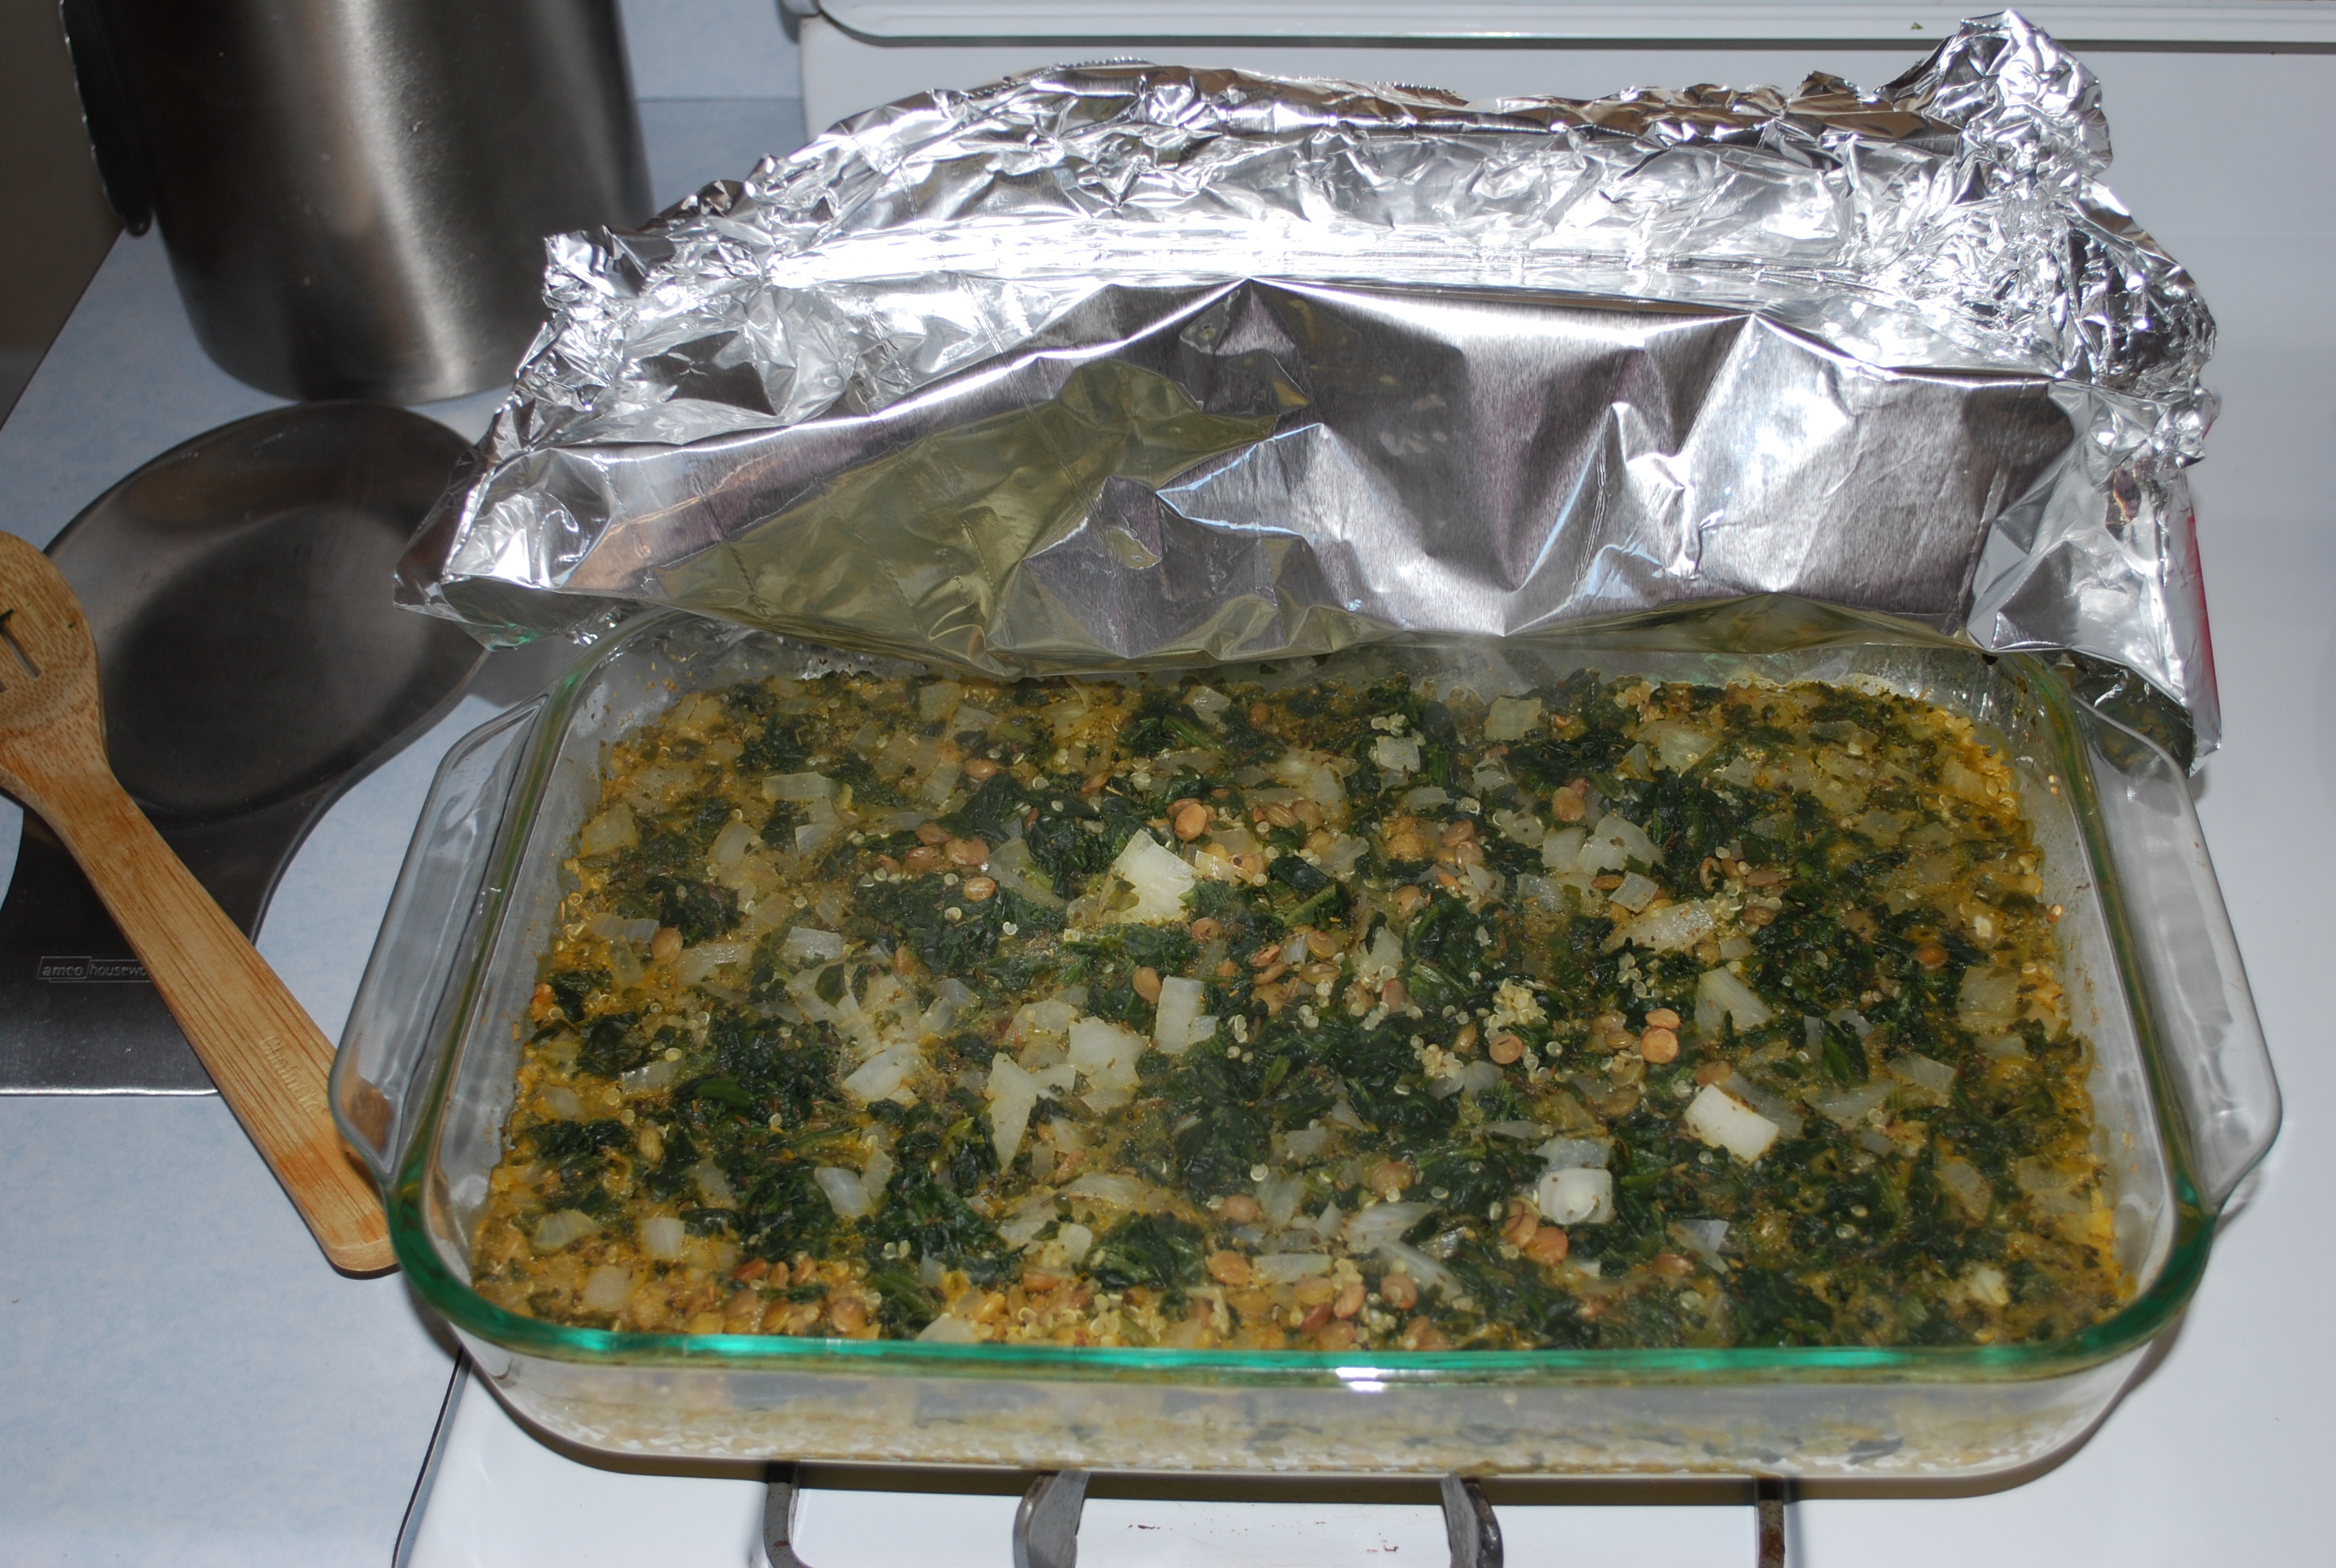
6. TIME TO EAT! Add them to salads, eat them for breakfast or snack but most of all ENJOY THEM because they are SOOOOO GOOD FOR YOU!!! 🙂

Day 1 - soak overnight

Wheat Berry's on LEFT, Green Lentils on RIGHT

Day 2 - Drain and rinse

(Day 2) Lid Options: Sprouting lid or cheesecloth and rubber band

Day 2 - Place in cupboard upside down. Line bowl with folded paper towel to absorb more water

(Day 3) Beginning of growth!!

Day 3

(Day 4) Continue to rinse and drain 2-3 times a day, keeping jars in your pantry or cupboard

Day 4

Day 5

Day 6

(Day 6) Ready to add to salads and recipes!!

Spicy Sesame Noodles (Daikon)

I bought a spiralizer (Buy it here) a few months ago and this is the first thing I made! These little kitchen tools are so cool! You can make curly fries (I bake mine without oil), zucchini noodles, apple “noodles”… the list is endless! Your kids will love using this thing and so will you!

World Cuisine 48297-99 Tri-Blade Plastic Spiral Vegetable Slicer

SO COOL!

Daikon radishes have a very distinct strong flavor. If you do not like this flavor, substitute brown rice noodles or whole wheat pasta instead. I plan on experimenting with this recipe in the future!

Spicy Sesame Noodles

This recipe is from Melomeals: Vegan For $3.33 A Day!

Spicy Sesame Noodles
  • 1 medium Daikon, spiralized (around 6 cups)
  • 2 t toasted sesame oil
  • 5 scallions, diced
  • 1 T soy sauce
  • 1 T siracha – or less if you don’t like s
  • 1/4 c Wasabi Ginger Dressing
  • 2 T toasted sesame seeds

Saute all of the ingredients together in a non stick skillet for 10 minutes. Taste and add more soy sauce, black pepper and siracha if desired.

Ready to cook!

Spiralize daikon radish OR cook your pasta of choice, assemble in pan and cook!

Thai Chili Peanut Sauce

I have the best husband! He is always willing to run to the store for me if I need anything, no matter how crazy the item is or how long the list. He went to Sprouts for me a few days ago AND took our toddler to give me a much-needed break. He brought home these Chili Peanuts and said he thought they looked good but they weren’t. He must have been hungry… Rule #1 of grocery shopping is not to go when you are hungry otherwise you end up with things like this.

I asked Melody of Melomeals: Vegan For $3.33 A Day what she would do with them (she is the recipe invention master!) and she suggested a peanut sauce. Great idea! I went through my fridge and cupboards and I found soba noodles, a leftover red pepper from making Red Lentil Thai Chili, cilantro, limes, fresh ginger, Morningstar Chick-n Strips, panang curry paste, half a can of coconut milk, leftover shredded carrots from making Carrot Breakfast Bread, snow peas and a fresh bag of organic spinach from my CSA delivery. Okay… time to invent something!

After adding, tasting and blending for what seemed like forever… my Chili Peanut Sauce came out pretty tasty! This sauce would go well with a bunch of things but I made it into a noodle dish with the red pepper, carrots, snap peas, spinach, Morningstar Chick-n Strips and soba noodles.

Thai Chili Peanut Sauce

Ingredients

* 1 cup chili peanuts

* 2 Tbsp panang chili paste – you could use any curry paste but the panang was really good!

* 1/2 – 3/4 cup coconut milk

* 2 Tbsp fresh ginger

* 3 cloves garlic

* 2 Tbsp fresh lime juice

* 1/4 cup cilantro

* 1-2 Tbsp maple syrup

* 2 Tbsp soy sauce

* 1 tsp Sriracha (optional)

* Big pinch of salt

Directions:

* Add all ingredients to high-powered blender (I used my VitaMix) and blend until smooth.

* Add more coconut milk if it’s too thick

* I’m pretty sure this would work in a food processor but I haven’t tried it yet. Next time.

For the noodle dish I added this sauce to:

* I cooked my soba noodles

* Sautéed 1 diced red pepper, 1 cup shredded carrots and 1 cup snow peas in a tiny bit of peanut oil

* I then added the Morningstar Chik-n Strips and cooked for about 3-4 minutes, stirring often

* Added 1 cup of sauce, then noodles and spinach (about 5-6 cups) and mixed with tongs, cooked on low heat until spinach wilted and sauce was covering all ingredients.

* I served this with Sriracha Hot Sauce, it really made the dish!! You could use regular whole wheat spaghetti for this too. Top with fresh cilantro and maybe a little lime juice, if you wish.