My kids often refuse to eat leftovers so I have to get crafty. Heck, sometimes I’m not even thrilled about eating leftovers. I’ve developed a knack for turning leftovers into lasagna using a few base ingredients. I always see great responses when I post the pics on my Facebook page so I figured it’s time to write a post about it!
This post may seem complicated because I listed off all the options but it’s really easy! Just use up whatever leftovers you have, add some sauce and veggies and WALAH!!!! 🙂

One of my many Leftovers Lasagna creations!
Leftovers Lasagna with “Veggie” Pasta
Possible “pasta” options:
* Regular pasta noodles – 1 or 2 boxes, depending how much you like.
* Thinly sliced and peeled sweet potatoes – I use my mandolin and slice them on the “thin” setting, longways (2 medium to large ones for a 9″ x 13″ pan)
* Thinly sliced zucchini or yellow squash – I slice these a tiny bit thicker than the sweet potatoes, longways (4-5 medium ones for a 9″ x 13″ pan)
* Thinly sliced polenta tube – you’ll need 2 tubes for a full 9″ x 13″ pan
Possible sauce options:
* 1-2 jars of pasta sauce – I often use Trader Joe’s No Salt Added sauce. I like to use about 1 to 1 1/2 jars of sauce but I like it saucy!
* Homemade pasta sauce – I love to use leftover Lentil Bolognese or Easy Roasted Garlic Marinara Sauce
* Real Deal Nacho Cheeze or LowFat Vegan Nacho Cheese – I use these if I have Mexican’ish leftovers – Ancho Lentil Bowls, also good with leftover Crockpot Lentil Chili
* I really love adding in leftover Unprocessed Creamy Artichoke Spinach Dip or Healthy Spinach Artichoke Dip as a layer in between everything! So yummy!
Possible layer options:
* Sweet Potato Hash or Tofu Scramble… any type of leftover casserole is good!
* Leftover Cheezy Rice/Quinoa & Lentil Bake
* Any leftover chili (I often use leftover Really Good Chili) or stir-fry (Lemony Chickpea Stir-Fry is good)
* Sometimes I chop up 1 bunch of kale, chard, collards or any other greens wilting in my fridge and saute them with mushrooms, carrots, onion, garlic, chopped red or green peppers and a little italian seasoning or Homemade Taco Seasoning for a Mexican flair (optional combo – really depends on your leftovers)
* Frozen veggies – spinach, mixed, broccoli, etc – thawed and drained
* Leftover juicing pulp – sprinkle it on top of a sauce layer
* Leftover Buffalo Ranch Roasted Chickpeas (sprinkle a few on there or a lot in the middle layer… so good!)
* Leftover pasta dishes – Quick Pasta Alfredo with Broccoli works!
* Leftover burgers – crumble them into the dish for a hearty texture!
* Hummus – Our Favorite Hummus makes a yummy, creamy layer!
* Shredded tempeh added to the sauce is delicious!
Possible Toppings:
* Almond flour – my favorite because it gives it a baked breadcrumb’ish top!
* Sliced olives – I add these when I use the Mexican cheeses with the sauteed greens, mushrooms, peppers, onions and garlic.
Instructions:
1. Preheat oven to 350 degrees. Start with a 13×9 pan – I’ve used smaller but I usually use this one
2. Start with a layer of sauce first at the bottom
3. Next add a layer of “pasta” – whichever you choose but if you use sweet potatoes, make sure they’re thin enough to cook through
4. Top the “pasta” with a little more sauce – make sure the “pasta” is surrounded by sauce or wet leftovers so they cook through
5. Next add a layer of veggies or leftovers
6. After this I usually do a leftover dip, cheese or hummus IF USING
7. Next another layer of “pasta” followed by a thin layer of sauce
8. Repeat and make sure to end with sauce at the top. Make sure all of the “pasta” is covered.
9. Sprinkle the top with almond flour or topping of your choice and cover with foil.
10. Bake at 350 for 30-45 minutes or until sauce is bubbling.
11. Remove foil and bake for another 5-10 minutes or until top looks crusty and brown’ish
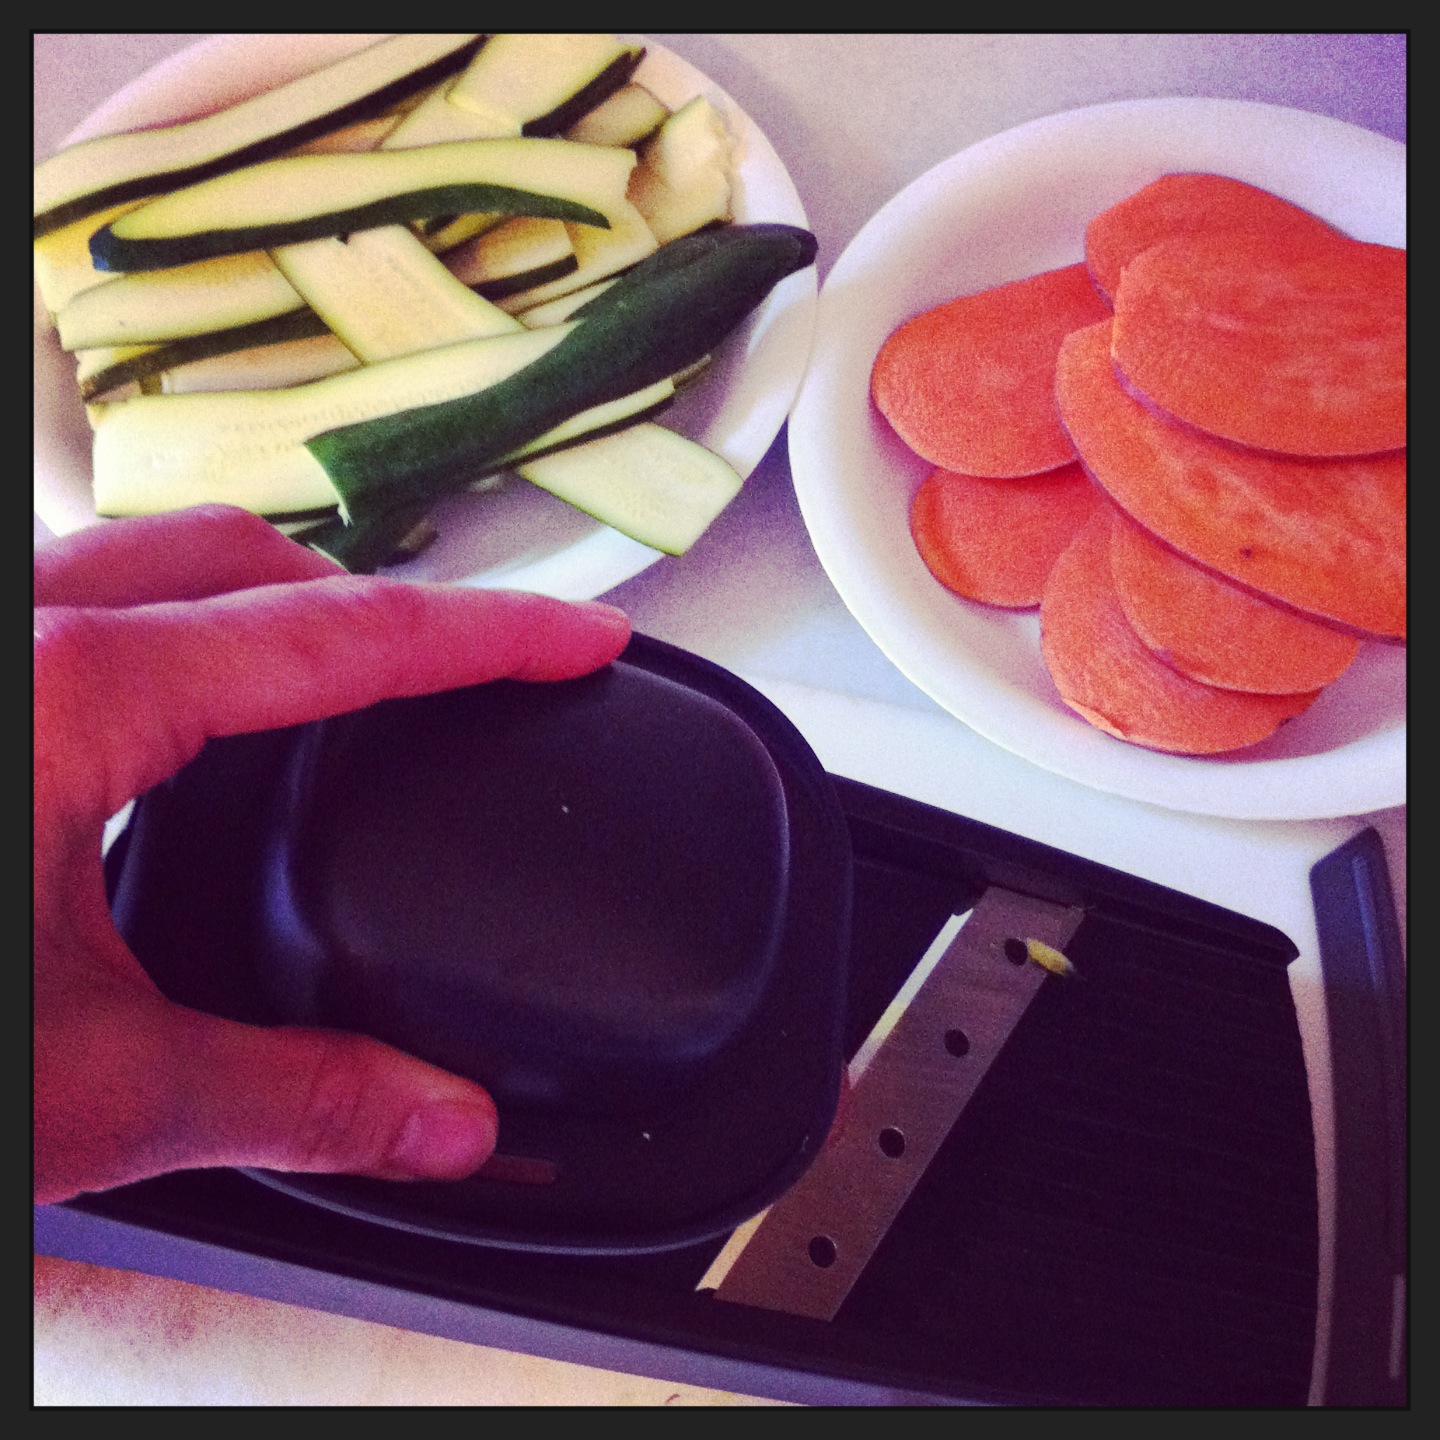
Slice your “pasta” using a mandolin – DON’T CUT YOURSELF!!!

Ready to assemble with leftovers!
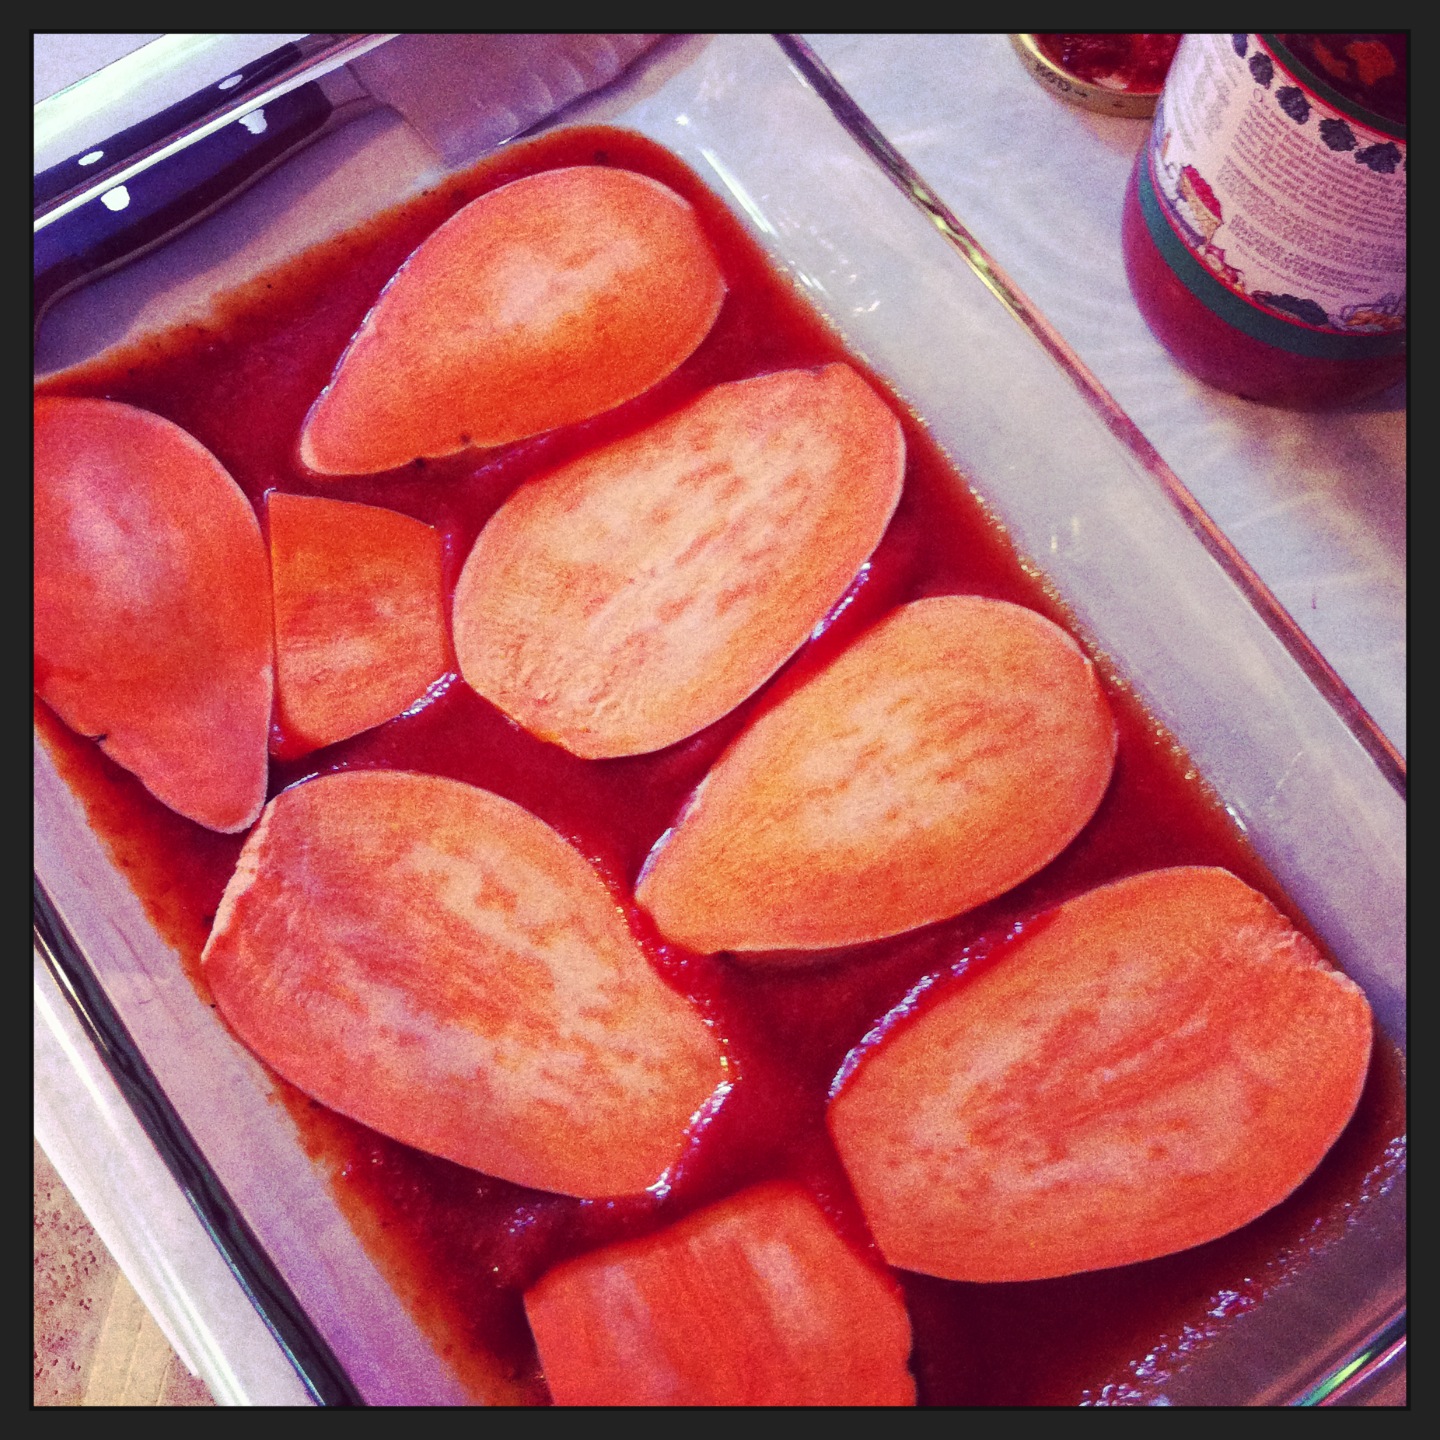
First sauce then “pasta”

Cover with sauce
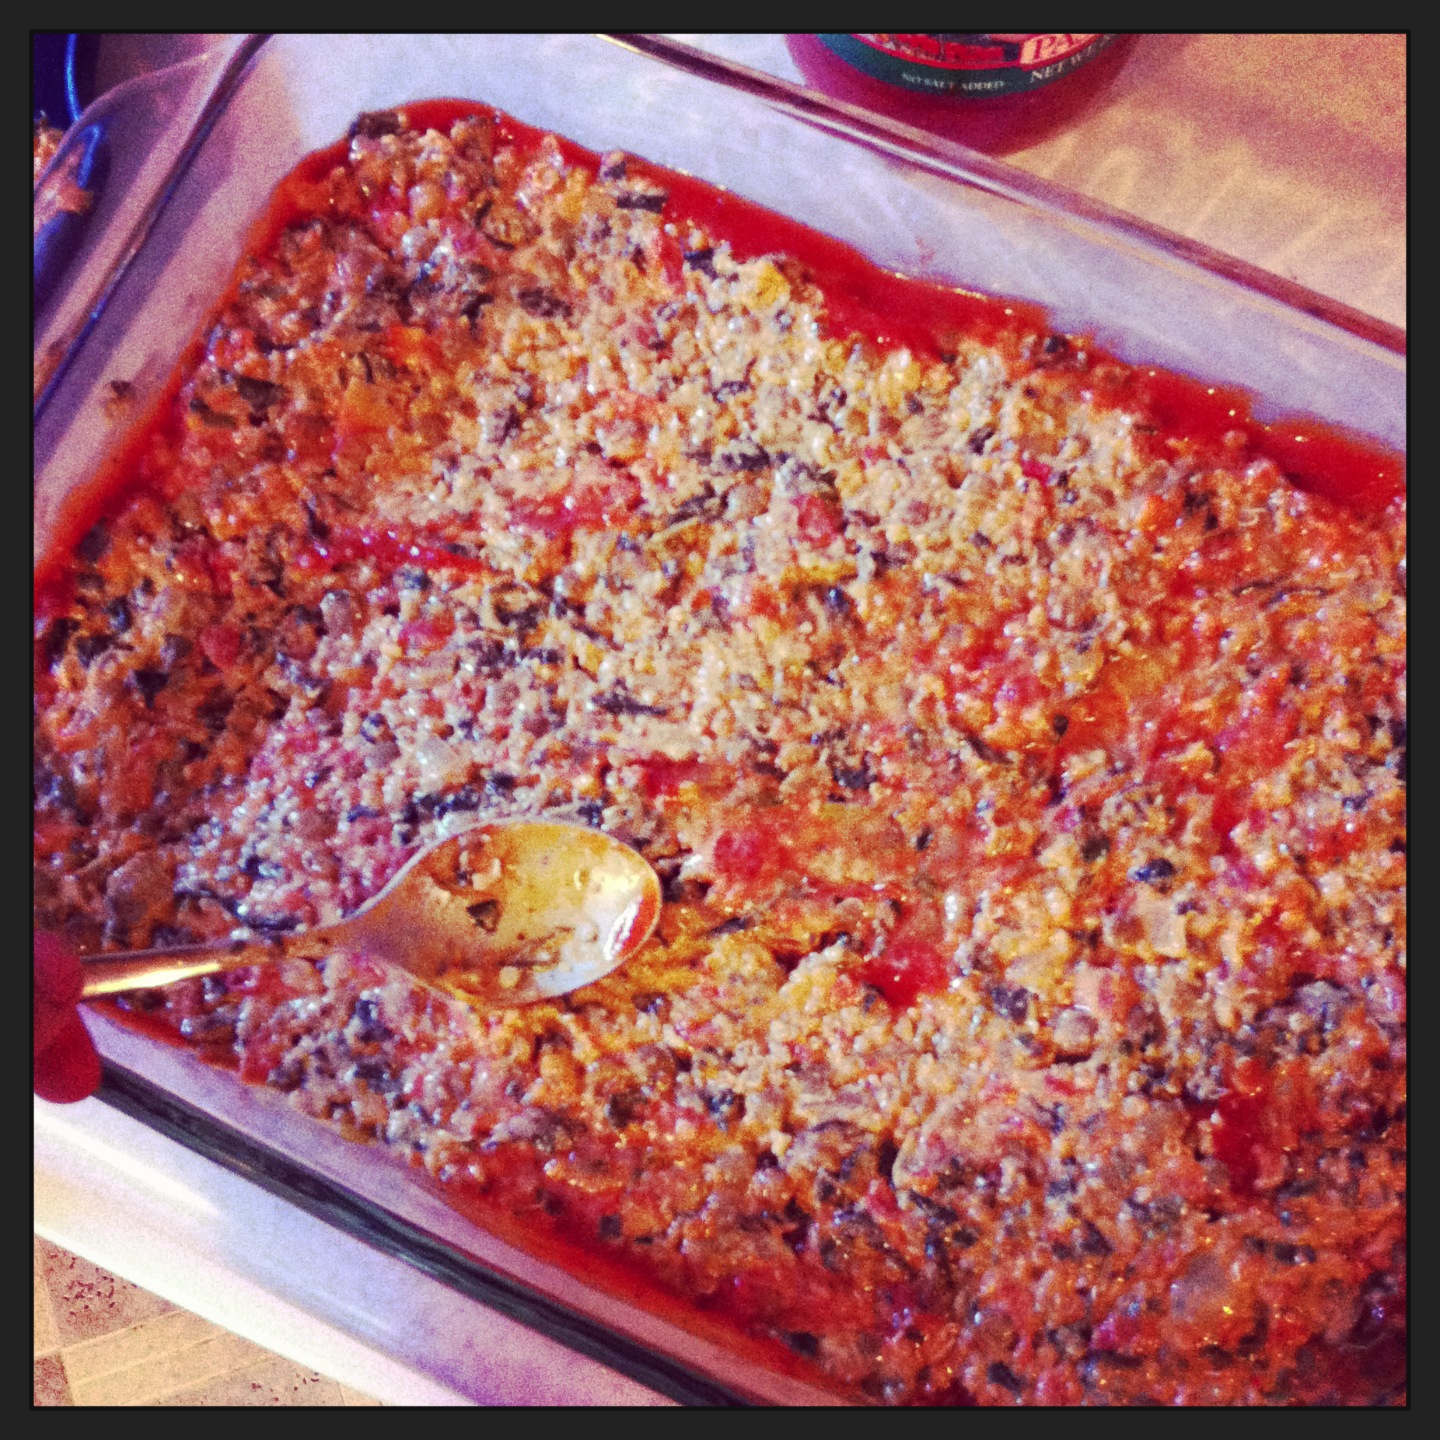
Start layering your leftovers. This is leftover Cheezy Quinoa & Lentil Bake

More “pasta” and sauce

Here I sprinkled leftover juicing pulp!
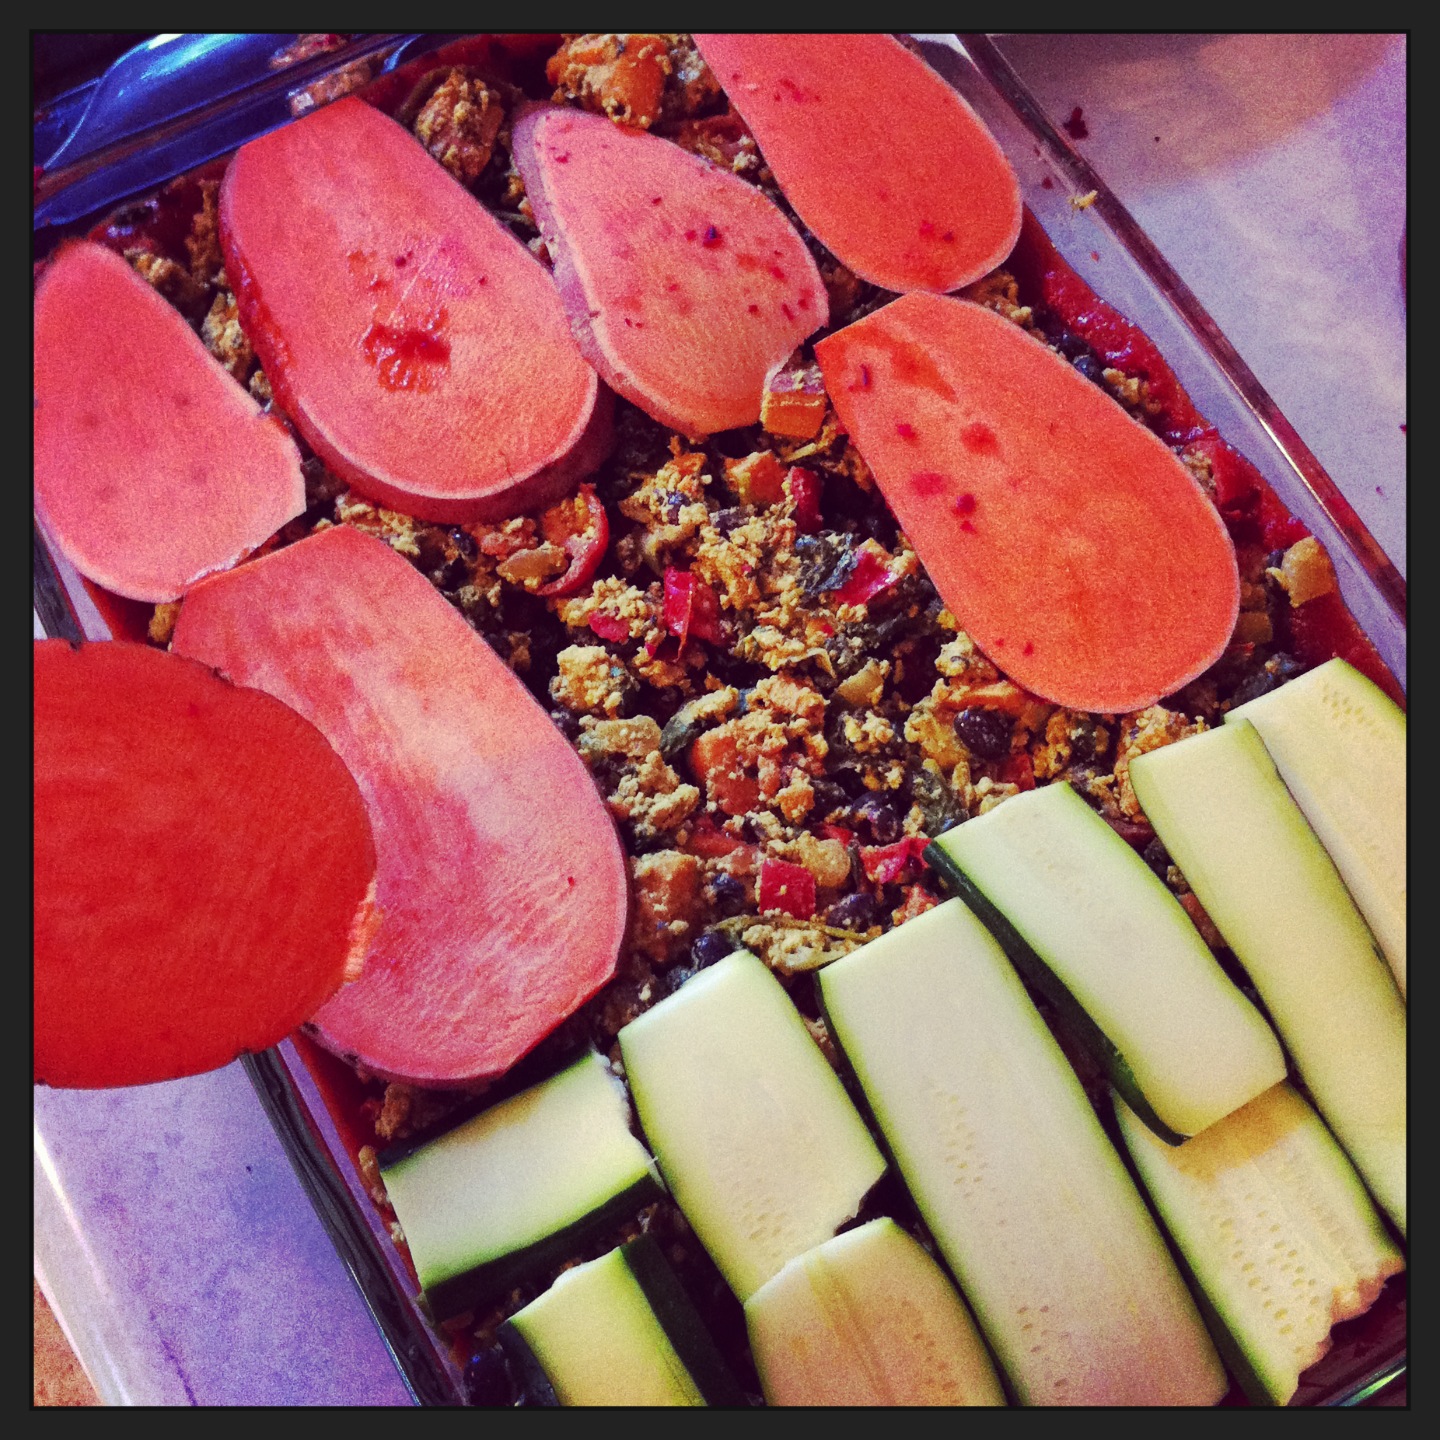
Used leftover Sweet Potato Hash as well
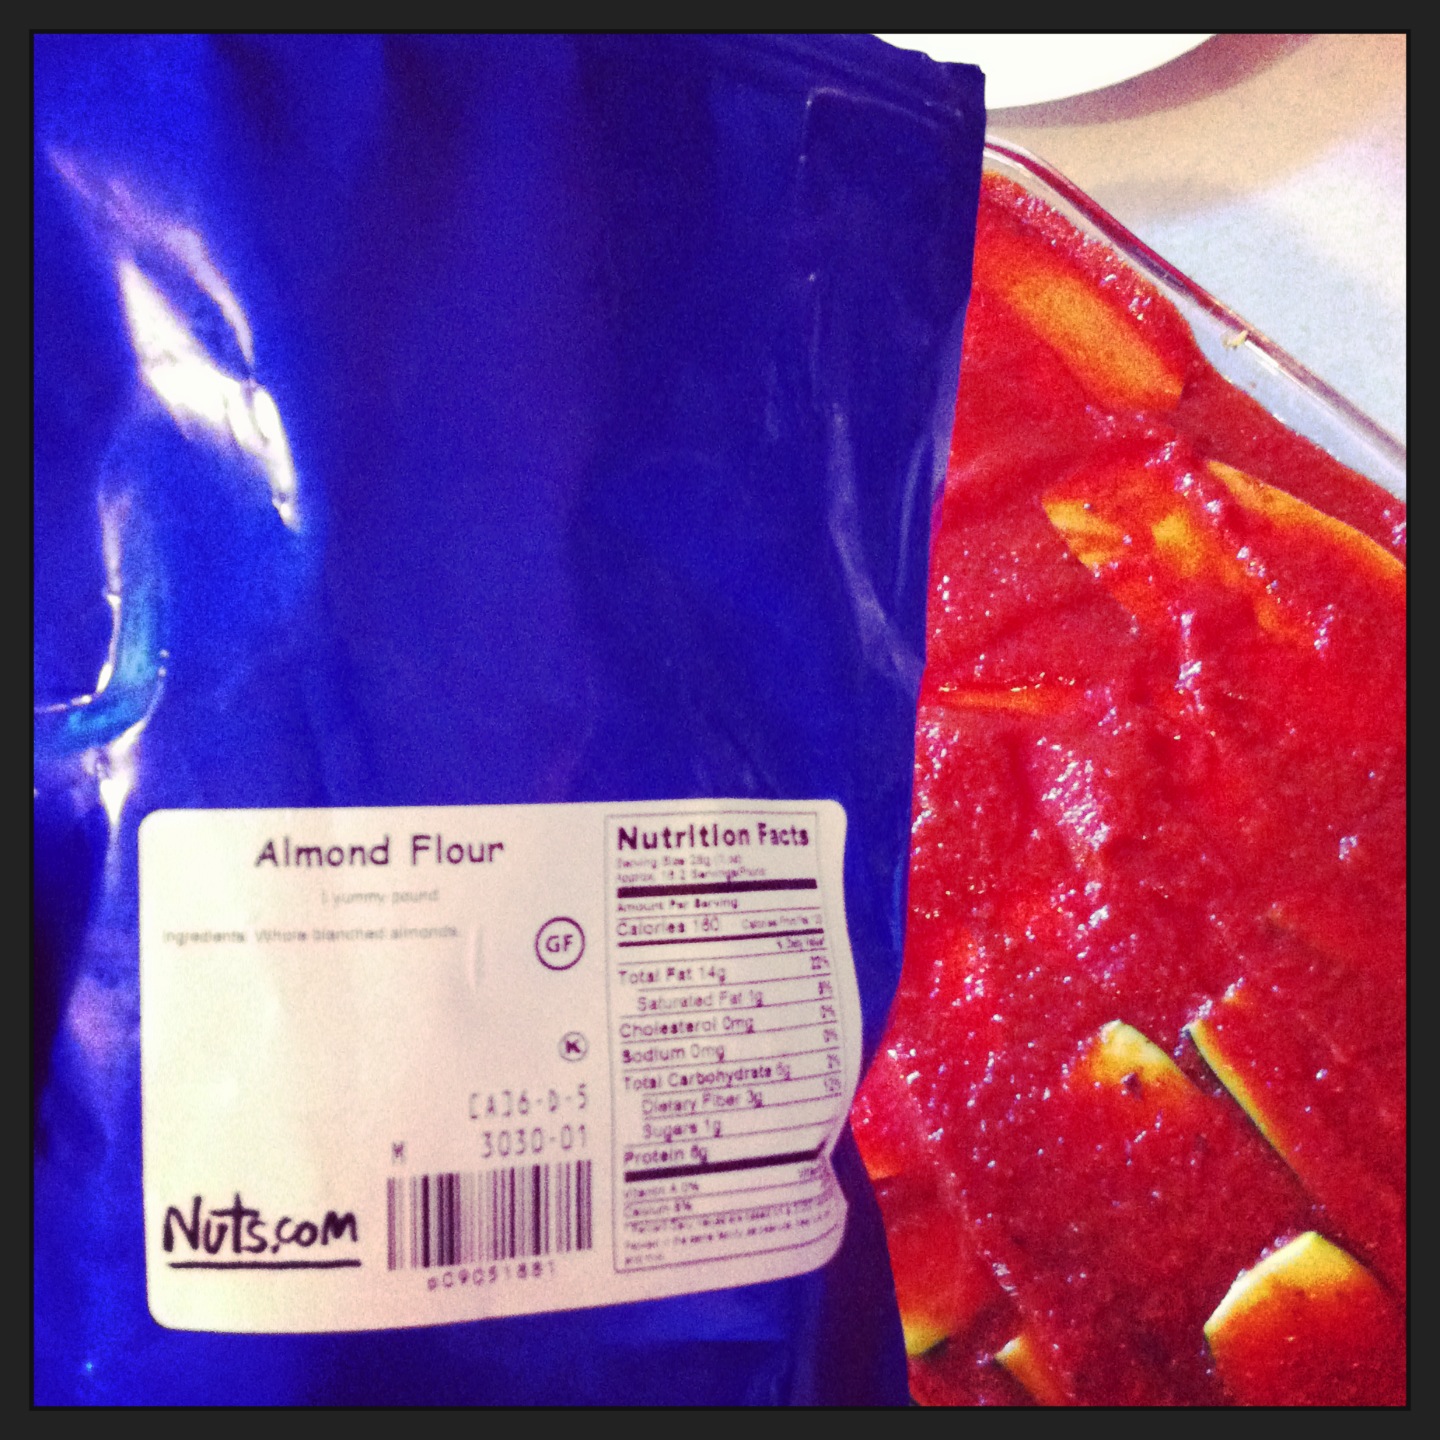
Top with almond flour or other toppings. Cover with foil and bake

Tonight’s lasagna!
A few older variations I’ve made:

Made with noodles, sauteed greens and veggies with Homemade Taco Seasoning and Real Deal Nacho Cheeze Sauce

Ava liked this one the best!

Sauteed greens, veggies, mushrooms, onions and garlic….
Another creation

Cash loves it!