
I love making breakfast cookies for the kids! They’re so easy and make the best leftovers, perfect for mornings I’m in a hurry or don’t feel like cooking. Plus they’re perfect traveling! I usually make these Healthy Breakfast Cookies but my kids are sick of them. Time for something new!
These are a perfect way to use your leftover almond pulp! These “cookies” aren’t super sweet like traditional cookies but they are delicious and filling! They are fragile yet dense, probably because of the almond pulp. Both of my kids love these! I wasn’t sure at first but found myself eating a few today!
After baking them I stored them in the fridge, reheated them in the toaster oven the next day. I saved a bit of the “dough” to spread on sprouted muffins for the kids.
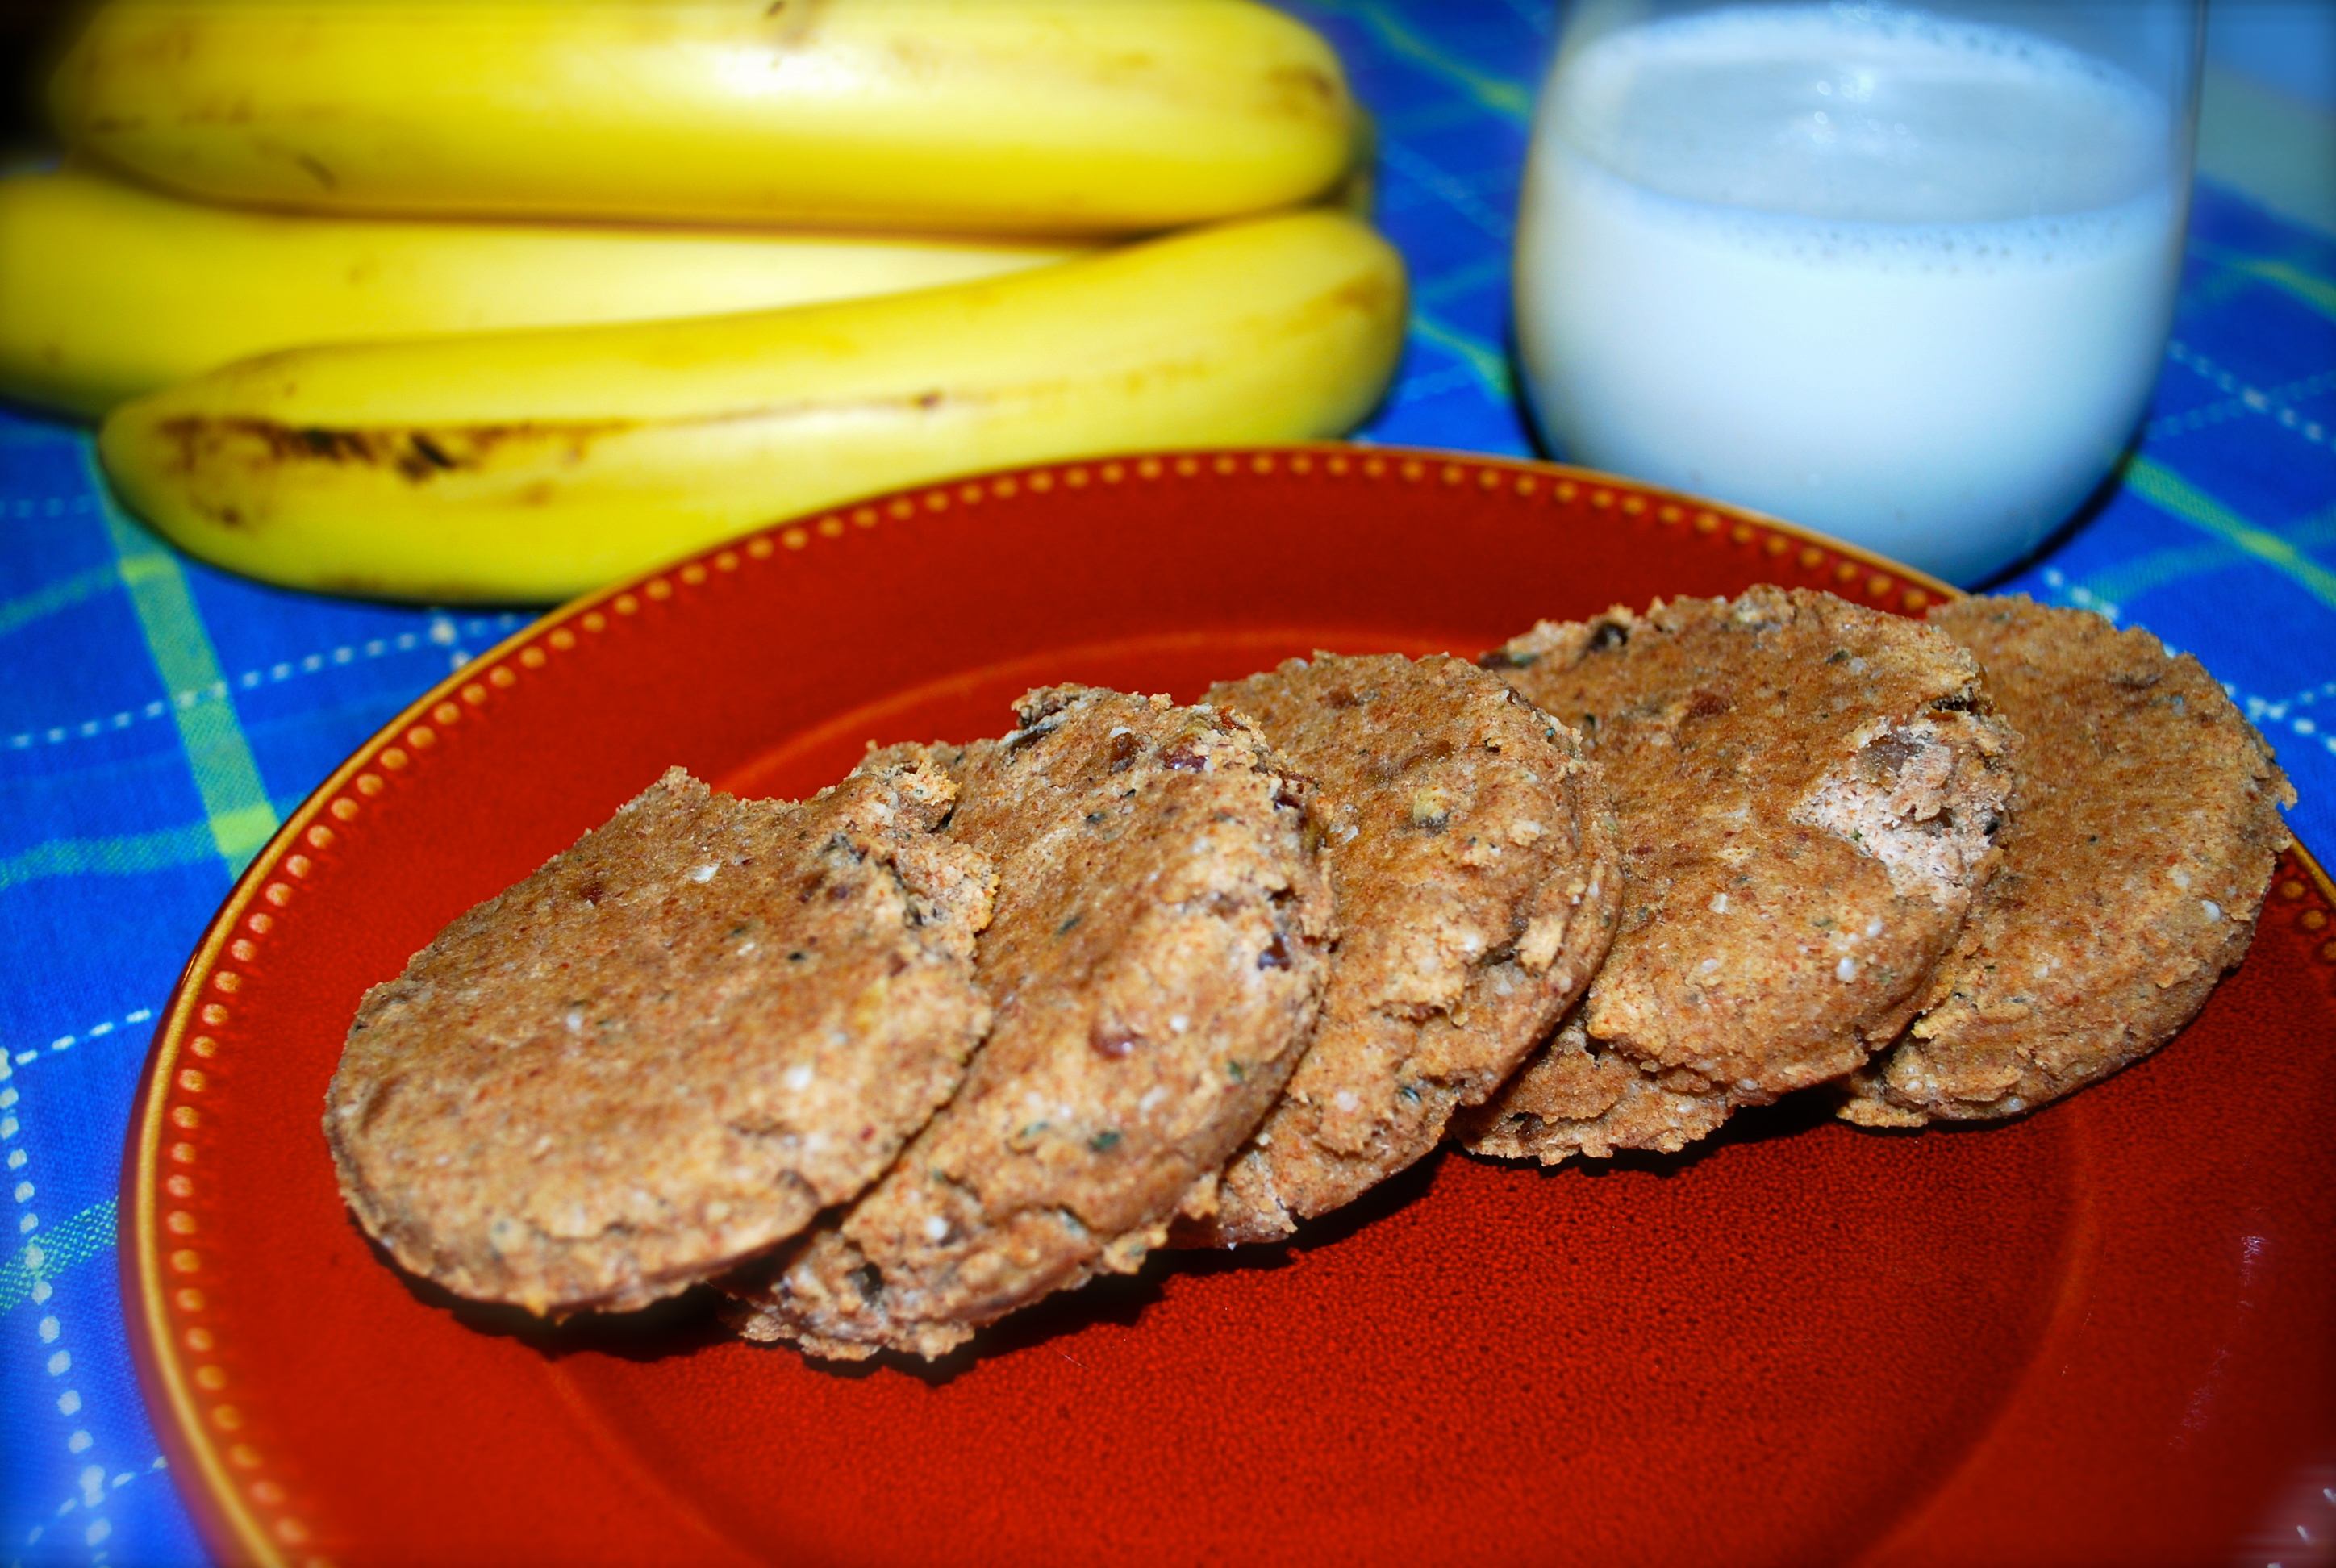
Gluten-Free Almond Hemp Breakfast Cookies

Cash loves them!!!
Feel free to cut this recipe in half if you don’t have that much pulp. I always make a double batch of almond milk so I have a ton of pulp leftover. I will continue to make these cookies and experiment with different additions!
Gluten-Free Almond Hemp Breakfast Cookies
Ingredients:
* 2 cups almond pulp (I’ll be testing a recipe using almond flour for those of you who don’t make your own almond milk!)
* 4 Tbsp almond butter
* 4 Tbsp hemp seeds (optional if you don’t have any)
* 1 medium banana
* 6-8 medjool dates, pitted and chopped
* 1/2 – 1 tsp ground cinnamon or pumpkin pie spice
Directions:
1. Preheat oven to 350
2. Add all the ingredients into your food processor using your S blade
3. Pulse/blend until it reaches a doughy consistency
4. Scoop out using an ice cream scooper (or a spoon) and portion onto parchment lined baking sheet
5. Flatten and shape cookies (I flatten and round mine!)
6. Bake for 25-30 minutes or until lightly brown. Let cool on the pan for 10-15 minutes before removing

Add all ingredients into food processor
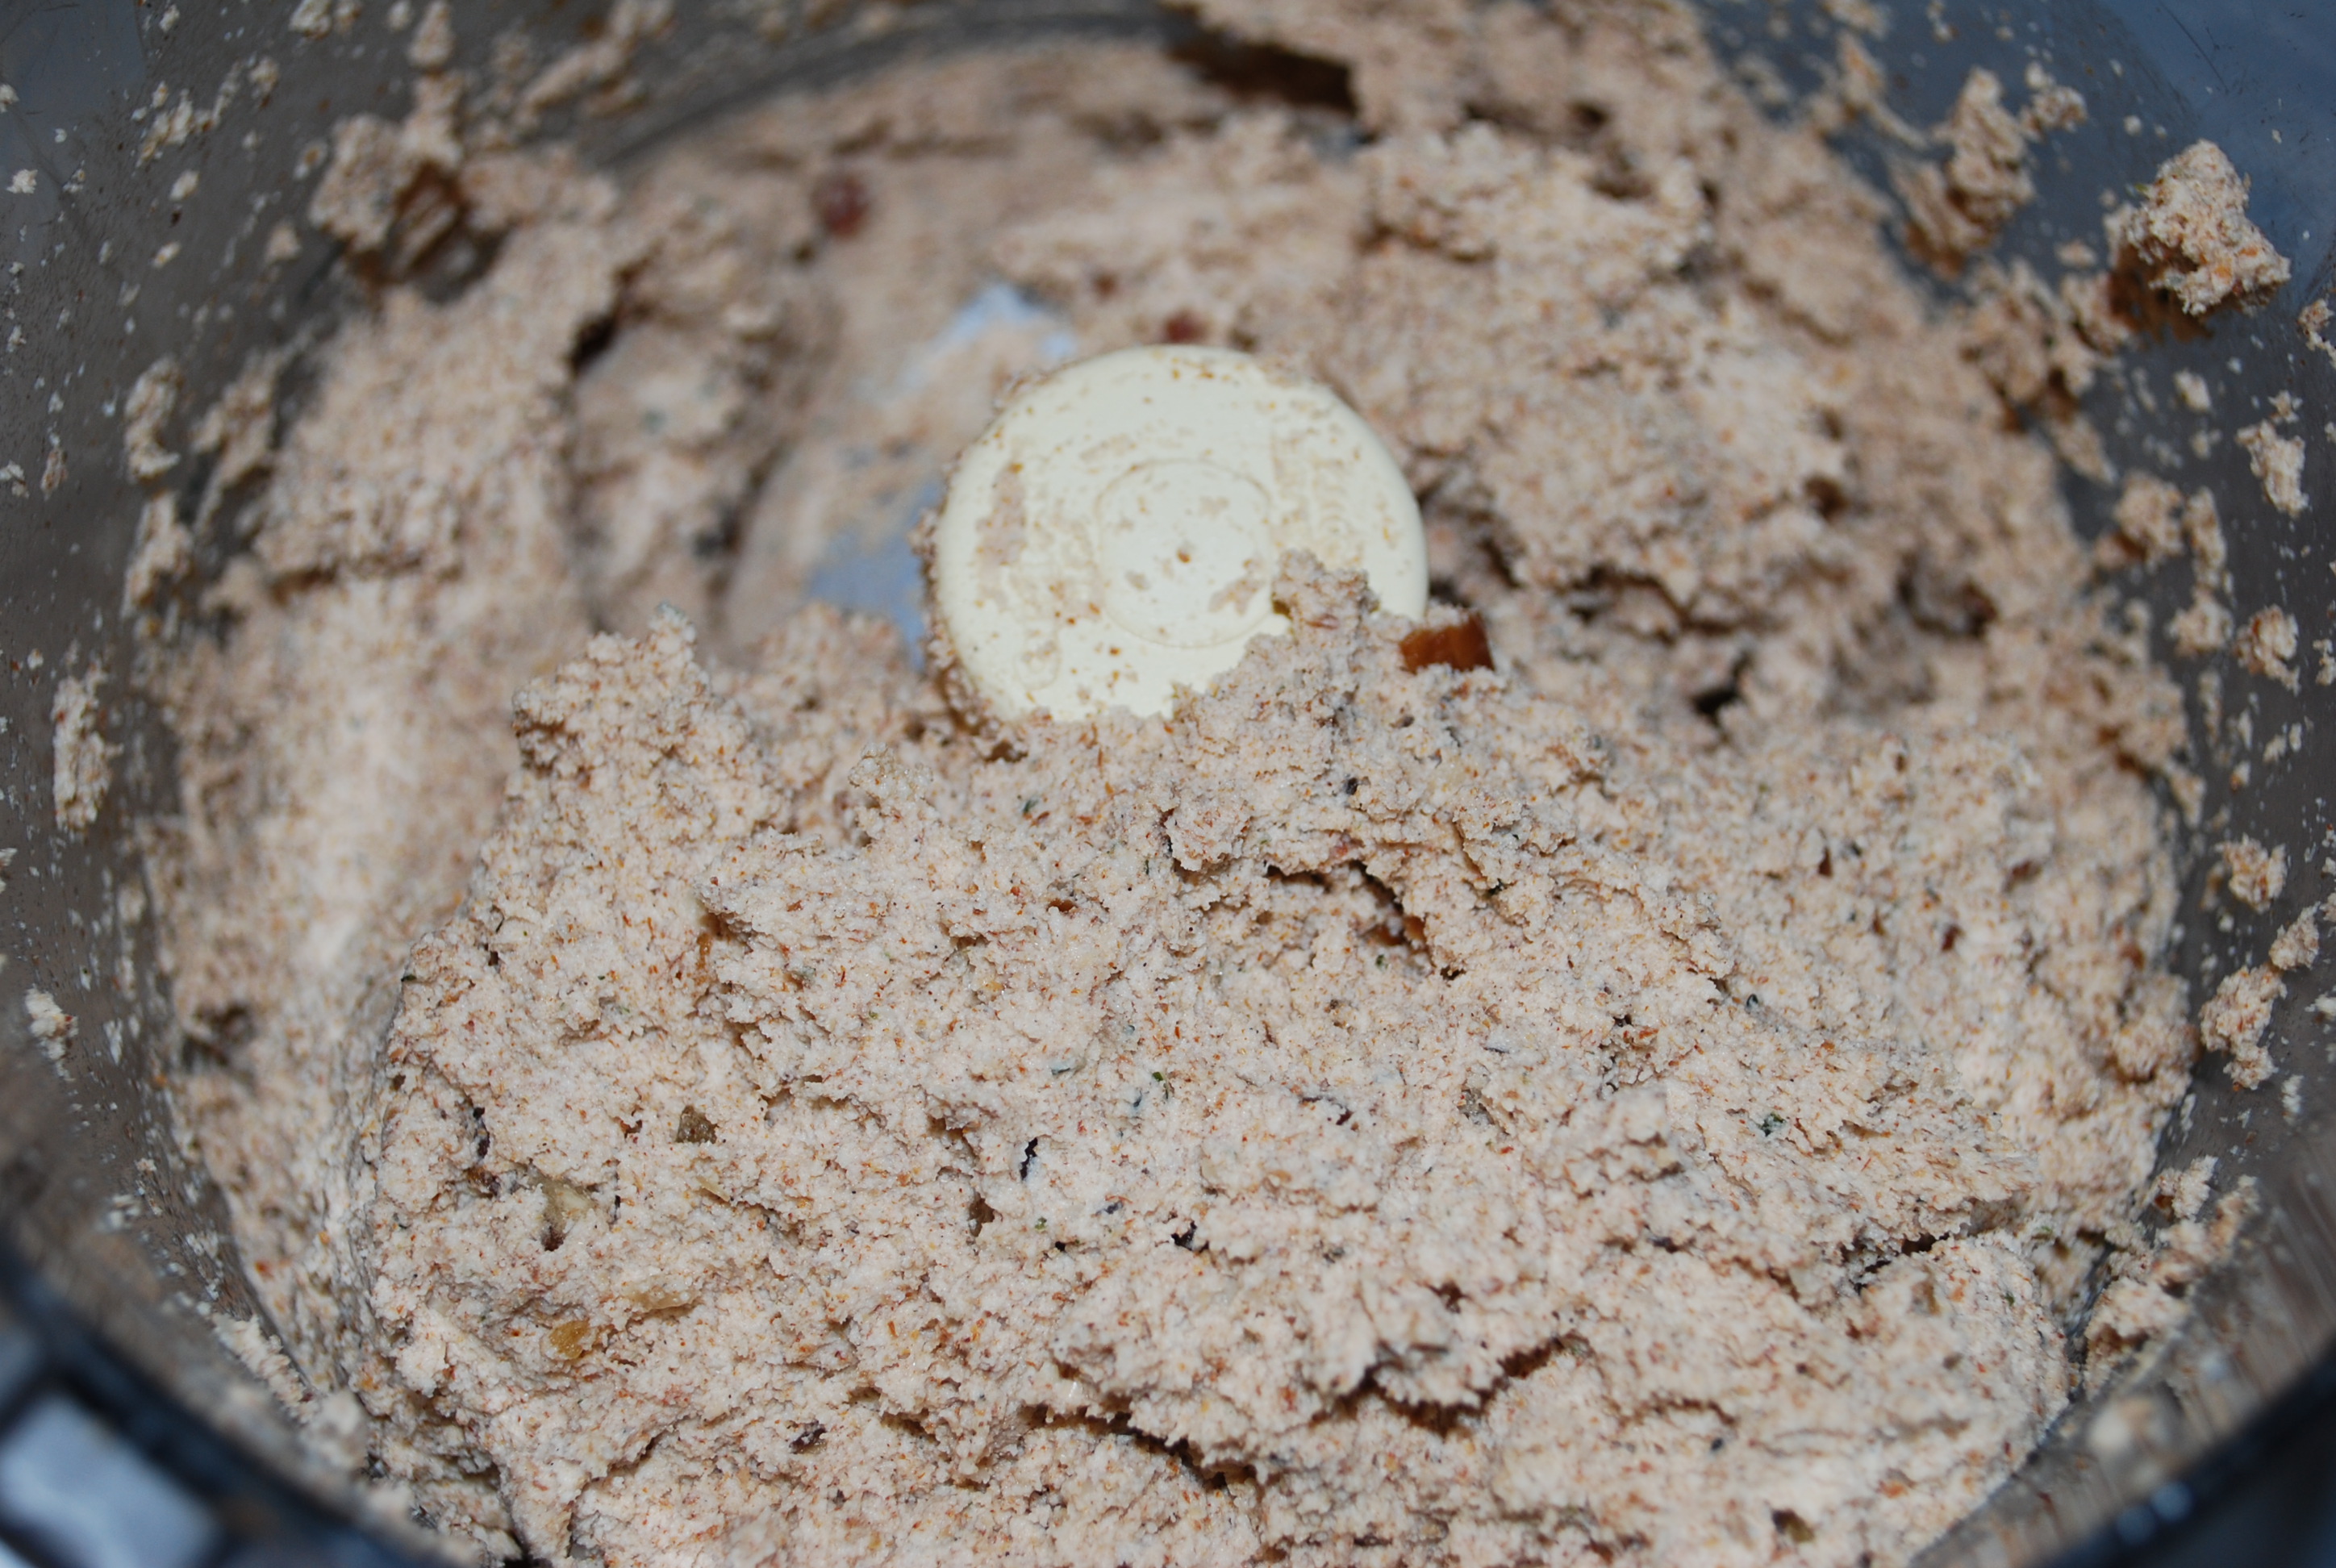
Pulse/blend until it reaches a dough-like consistency
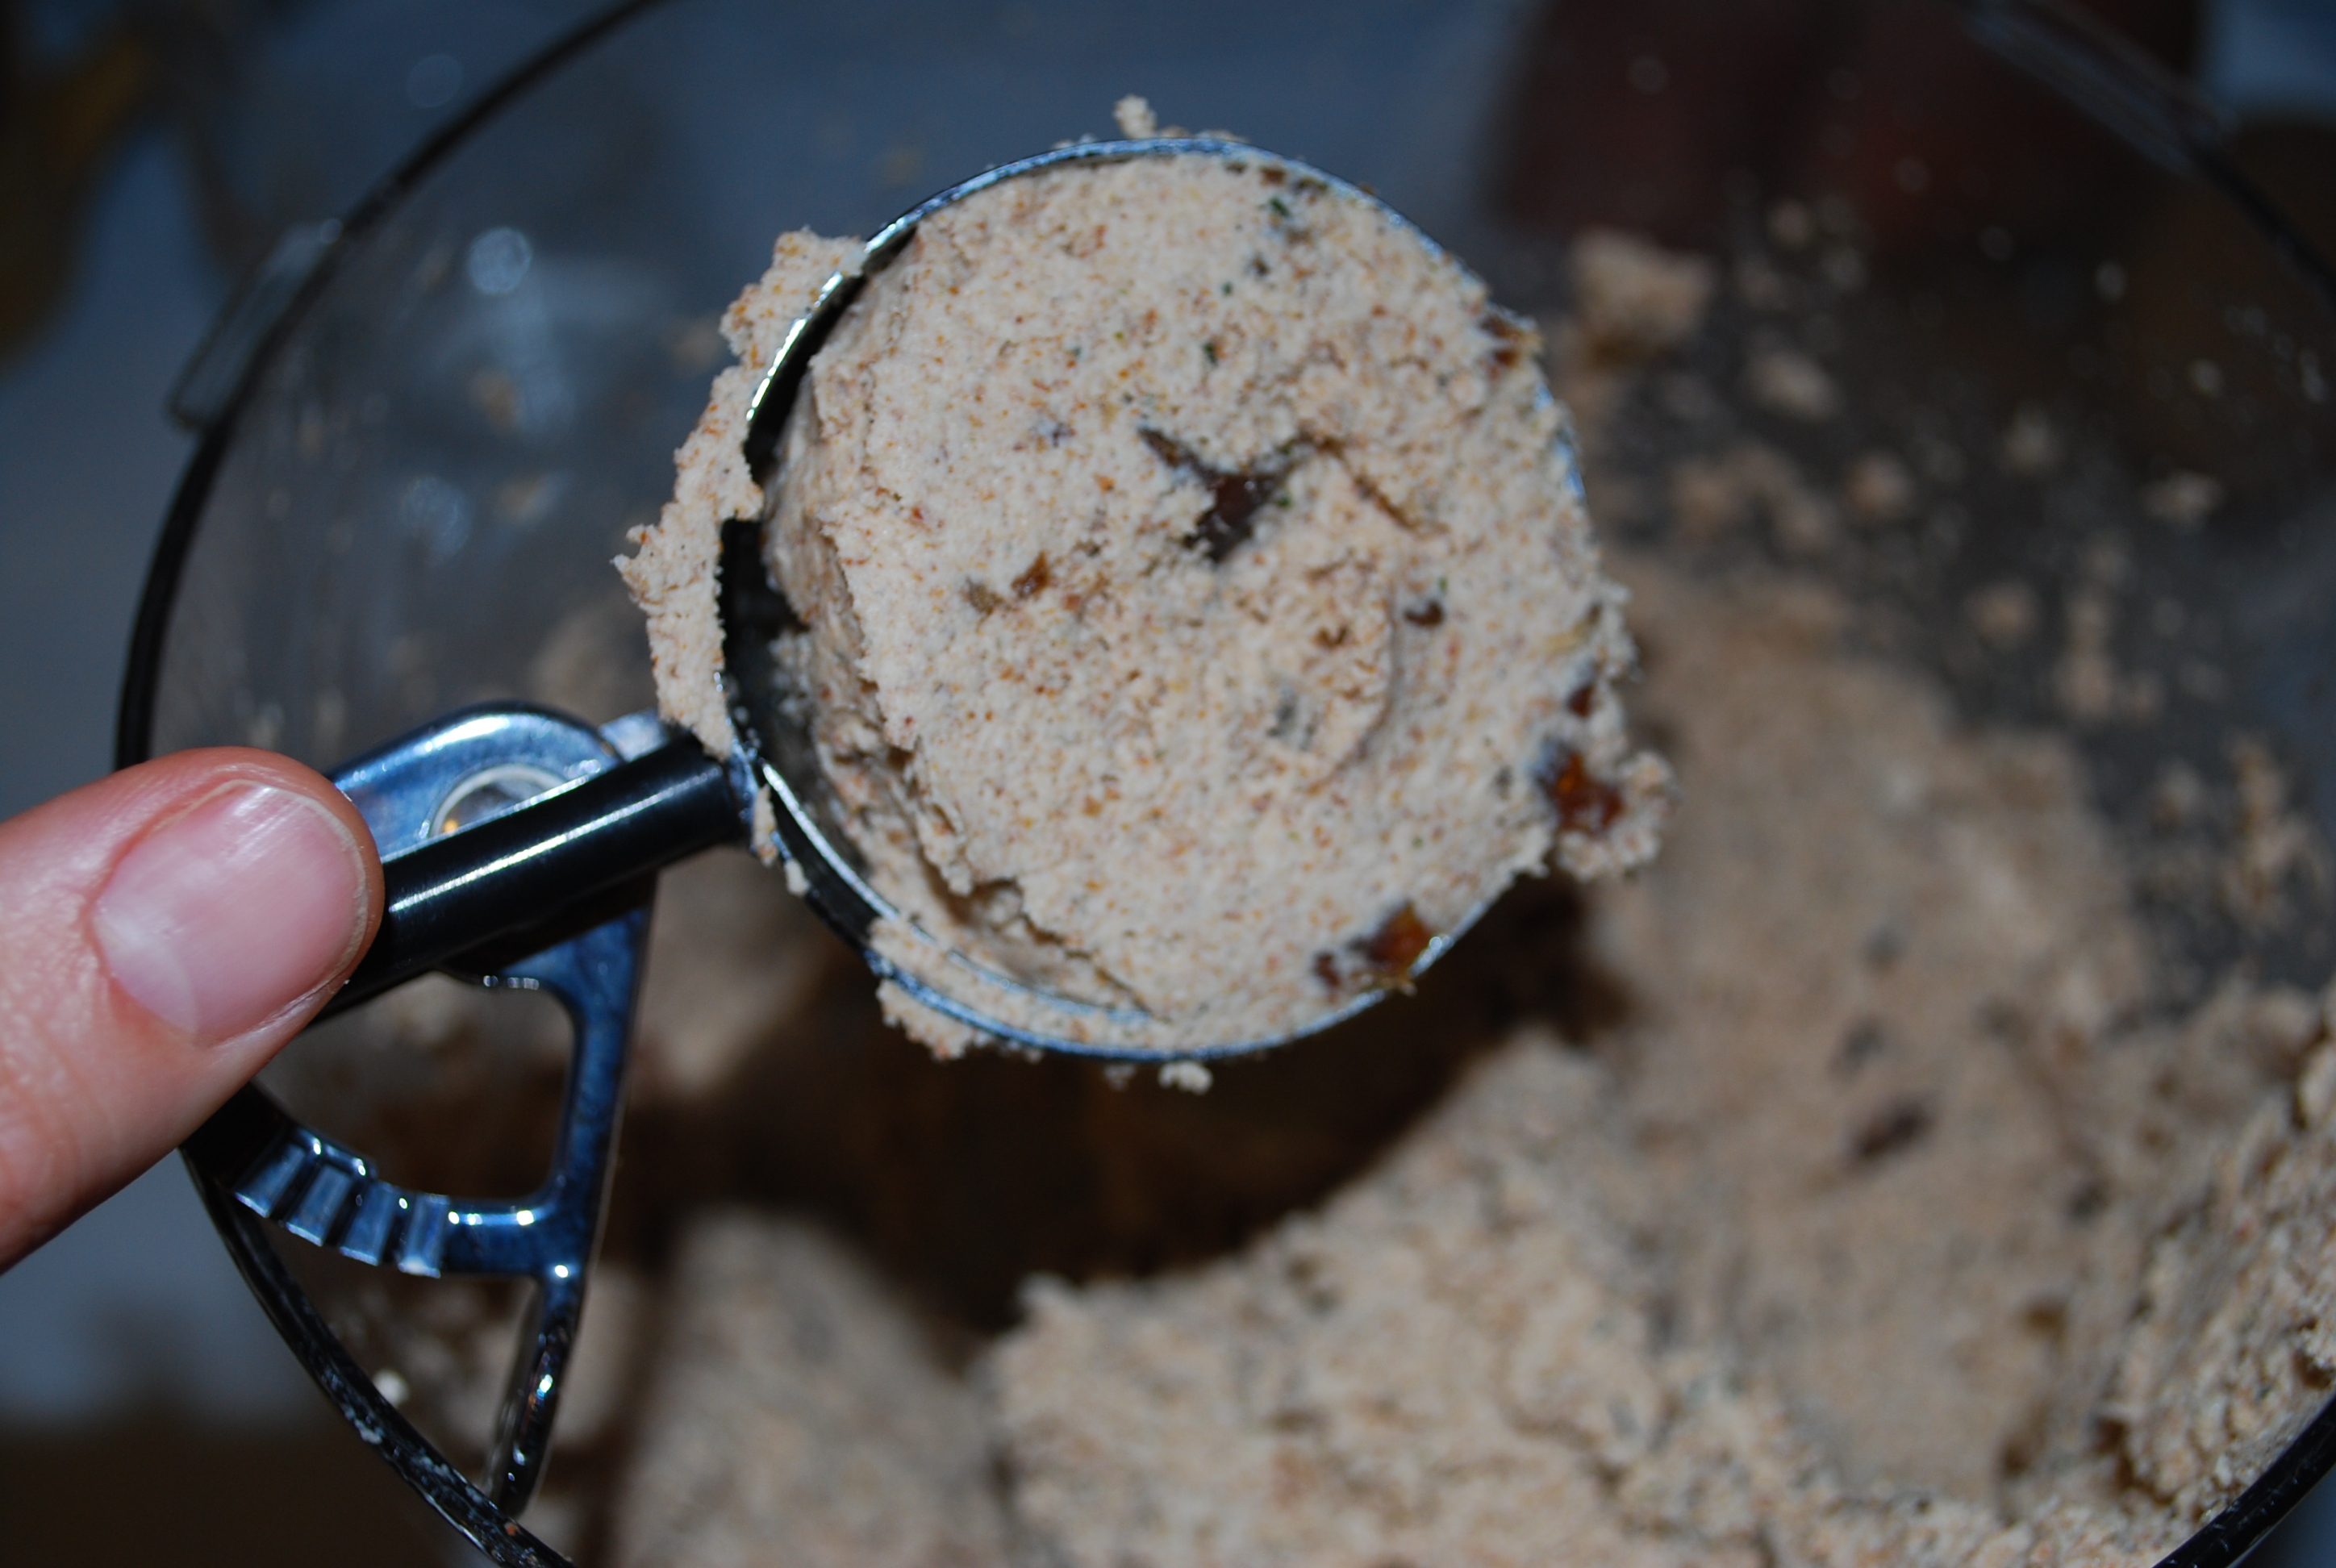
Scoop onto parchment lined baking sheet

Shape and flatten

I like bigger cookies!
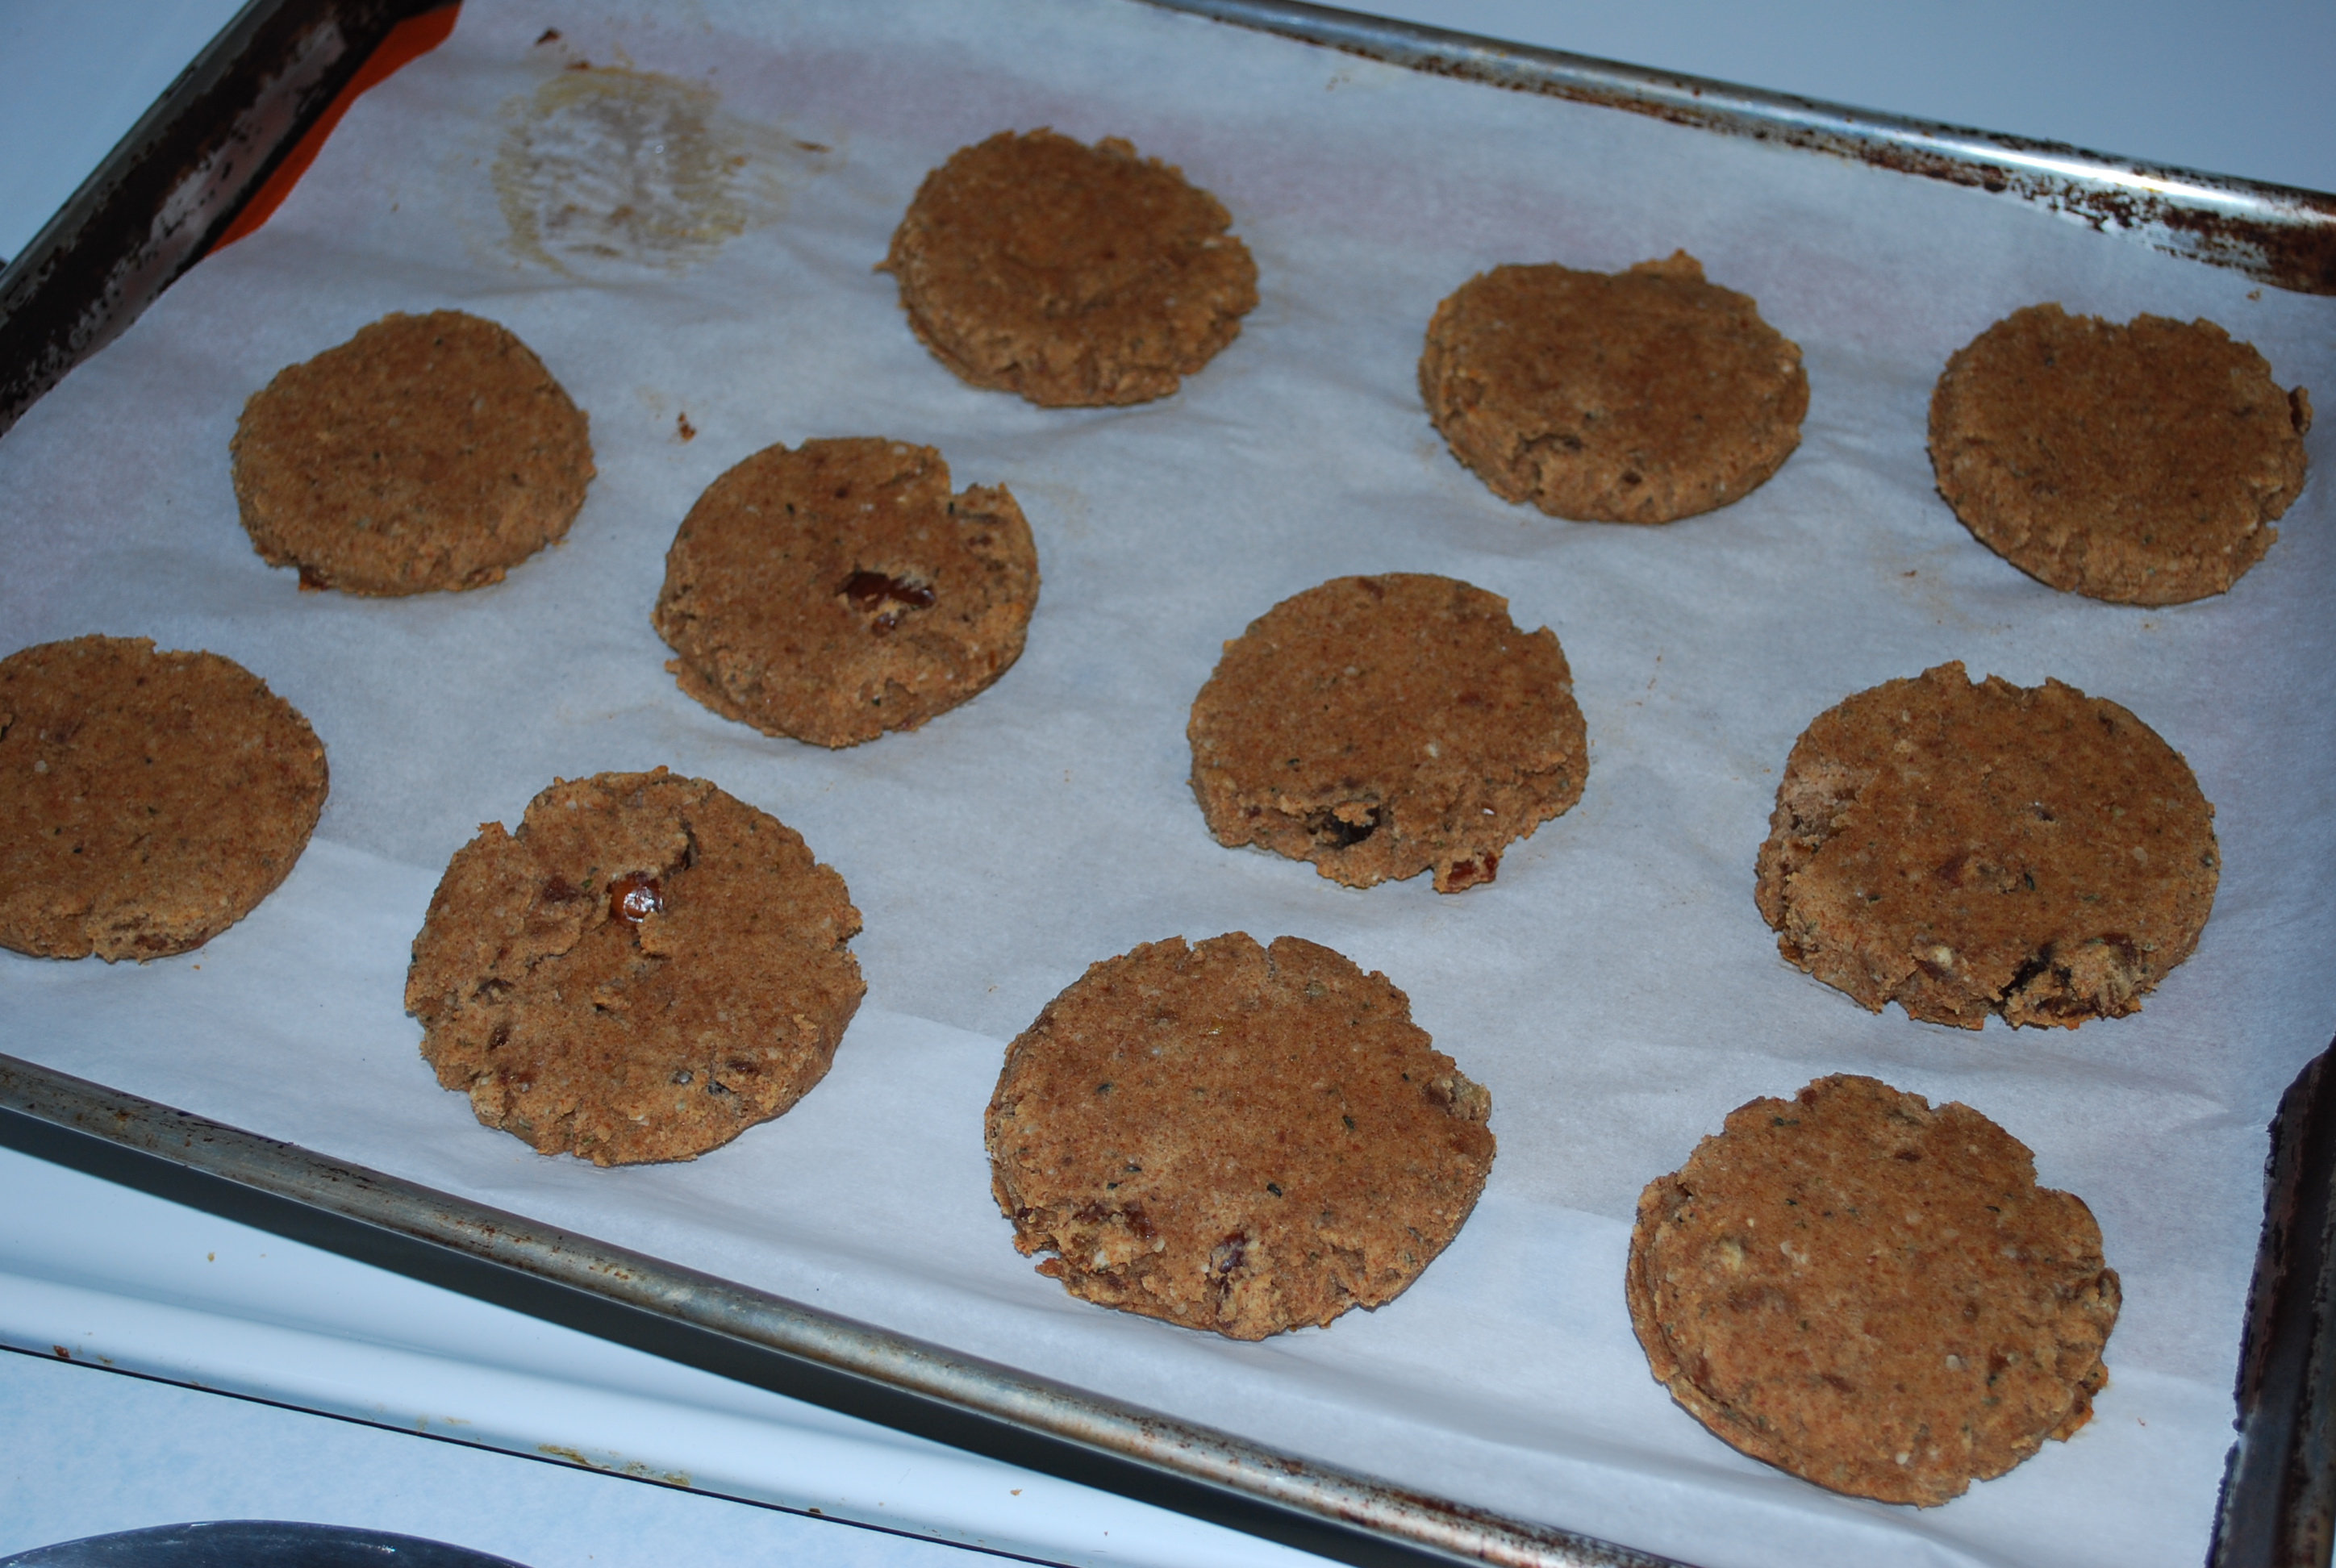
Bake for 25-30 mins or until lightly brown. Let cool on tray for 10-15 minutes before removing


